Hello, and welcome to my inaugural Craft It Like Katie post!
I got engaged in February 2017, and up until this point, crafting wasn’t really a thing in my life. I used to love making things as a child, but somewhere along the line, I just stopped doing it.
And then, the goddess of creativity, Wedding Pinterest came along! Suddenly, I was spending every moment of my commute (train then tube, usually just enough personal space for mobile browsing) looking at the amazing things that people had tried out – and these gave me even more new ideas myself.
Over the next year, I tried lots of different crafts, from pyrography (that’s wood-burning), to decoupage, to clay – and I also learned to knit on the side (not quite so wedding related, nobody wore a bobble hat). Now, with no more weddings of my own to plan, I’d love to share my ideas with you all.
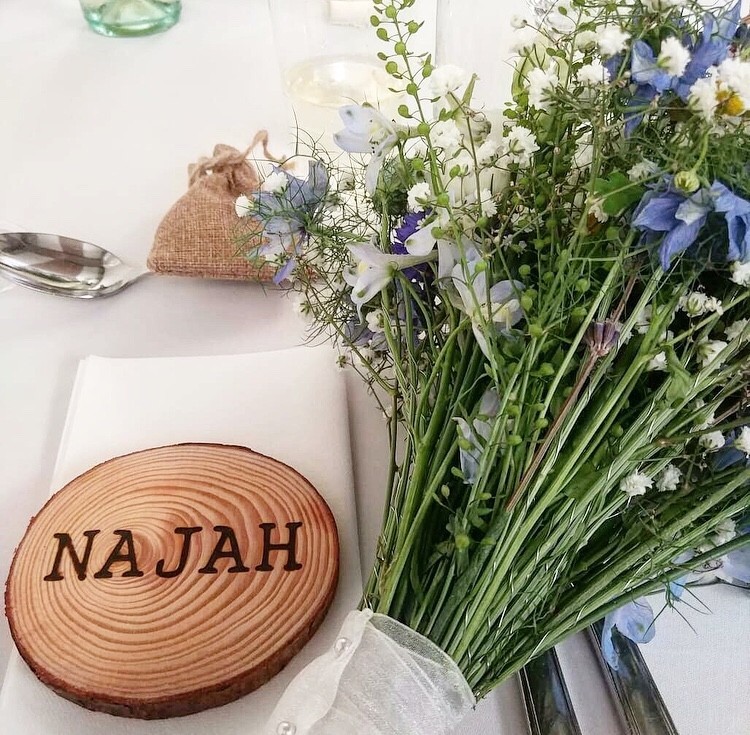
And so, onto these rustic wood-burned log slices – this was quite possibly my favourite craft exercise of the entire wedding, geared up to the barn setting that we had. It takes a little while, but once you’ve got the hang of it, it’s pretty easy to do.
What you need:
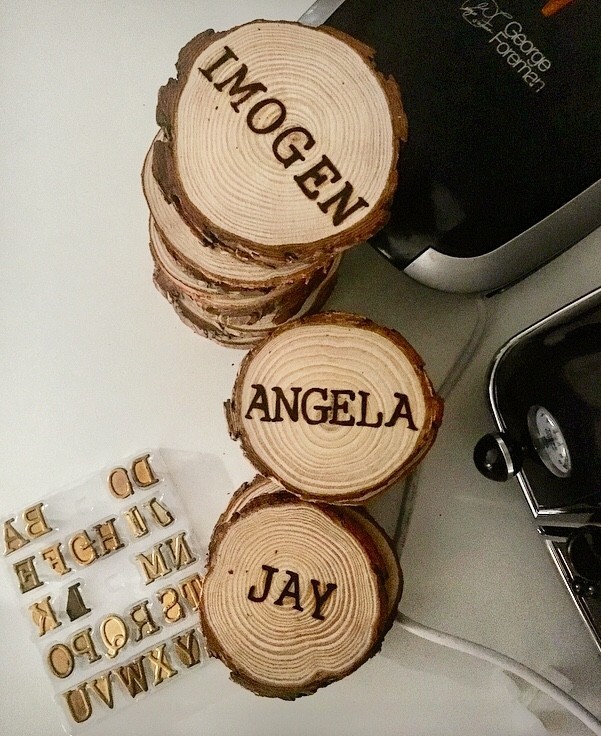
1) Log slices (one for each guest, with a few spares for mess-ups) – I got mine from eBay, and went for ones that measured approx. 10-12cm diameter
2) A pyrography (wood-burning) pen – after careful, but pretty uninformed research, I chose the Antex Craft Pyro Master BP 230V, which delivered on its promise to be easy to use for beginners

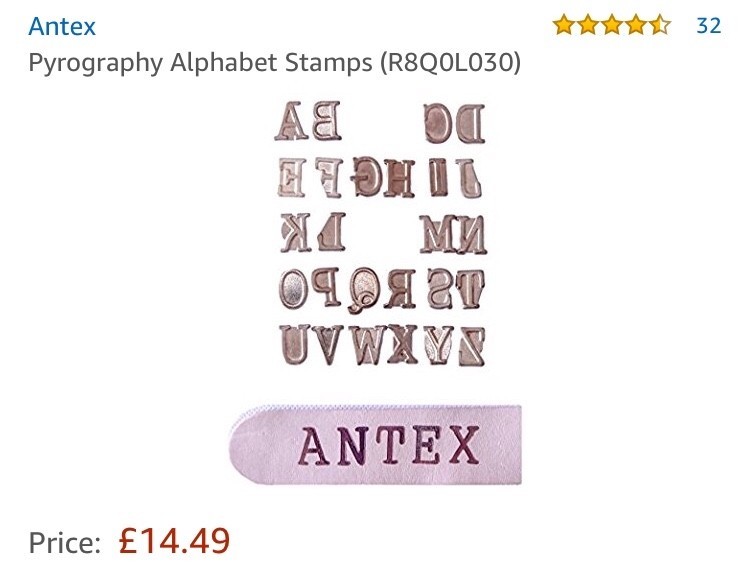
3) Pyrography alphabet stencils – now, if you’re feeling particularly creative and steady of hand, you could write your names free-hand, using one of a number of pen-tips. I was not, and opted for some alphabet stamps from Antex.
4) Danish oil (or another similar wood sealant), to waterproof your log-slices once they’re done. This means that they can be used as coasters, without risk of water stains
5) Foam brushes to apply your Danish oil
How you do it:
1) Cover your surfaces – do not miss this step! As my poor kitchen counters found out, a hot stencil dropped on an uncovered surface DOES leave a mark!
2) Heat up the pen – perhaps a very obvious step to call out, but make sure your stencils get really hot on the pen, otherwise they won’t mark the wood properly
3) Start burning wood – once your stencil has heated up on the pen, you’re ready to start burning! Just press the stencil down where you want it to go on the log slice, and hold for a few seconds. You can then keep lifting up and checking it until you get the darkness that you want. It’s worth mentioning that you can only have only stencil on the go at a time, so I wrote out all the guest names, and then did all of one letter first, then the next etc. This does mean a lot of logs on the go at once, but is definitely the quickest way!
4) Seal your log slices – once your beautiful, name-burned log slices have cooled down, it’s a good idea to seal the wood so that it’s water-proofed (otherwise it will become damaged as a coaster pretty quickly). This bit is really easy – just brush the wood with some Danish oil (or other sealant) using your foam brushes, allow to dry, and then repeat a couple of times
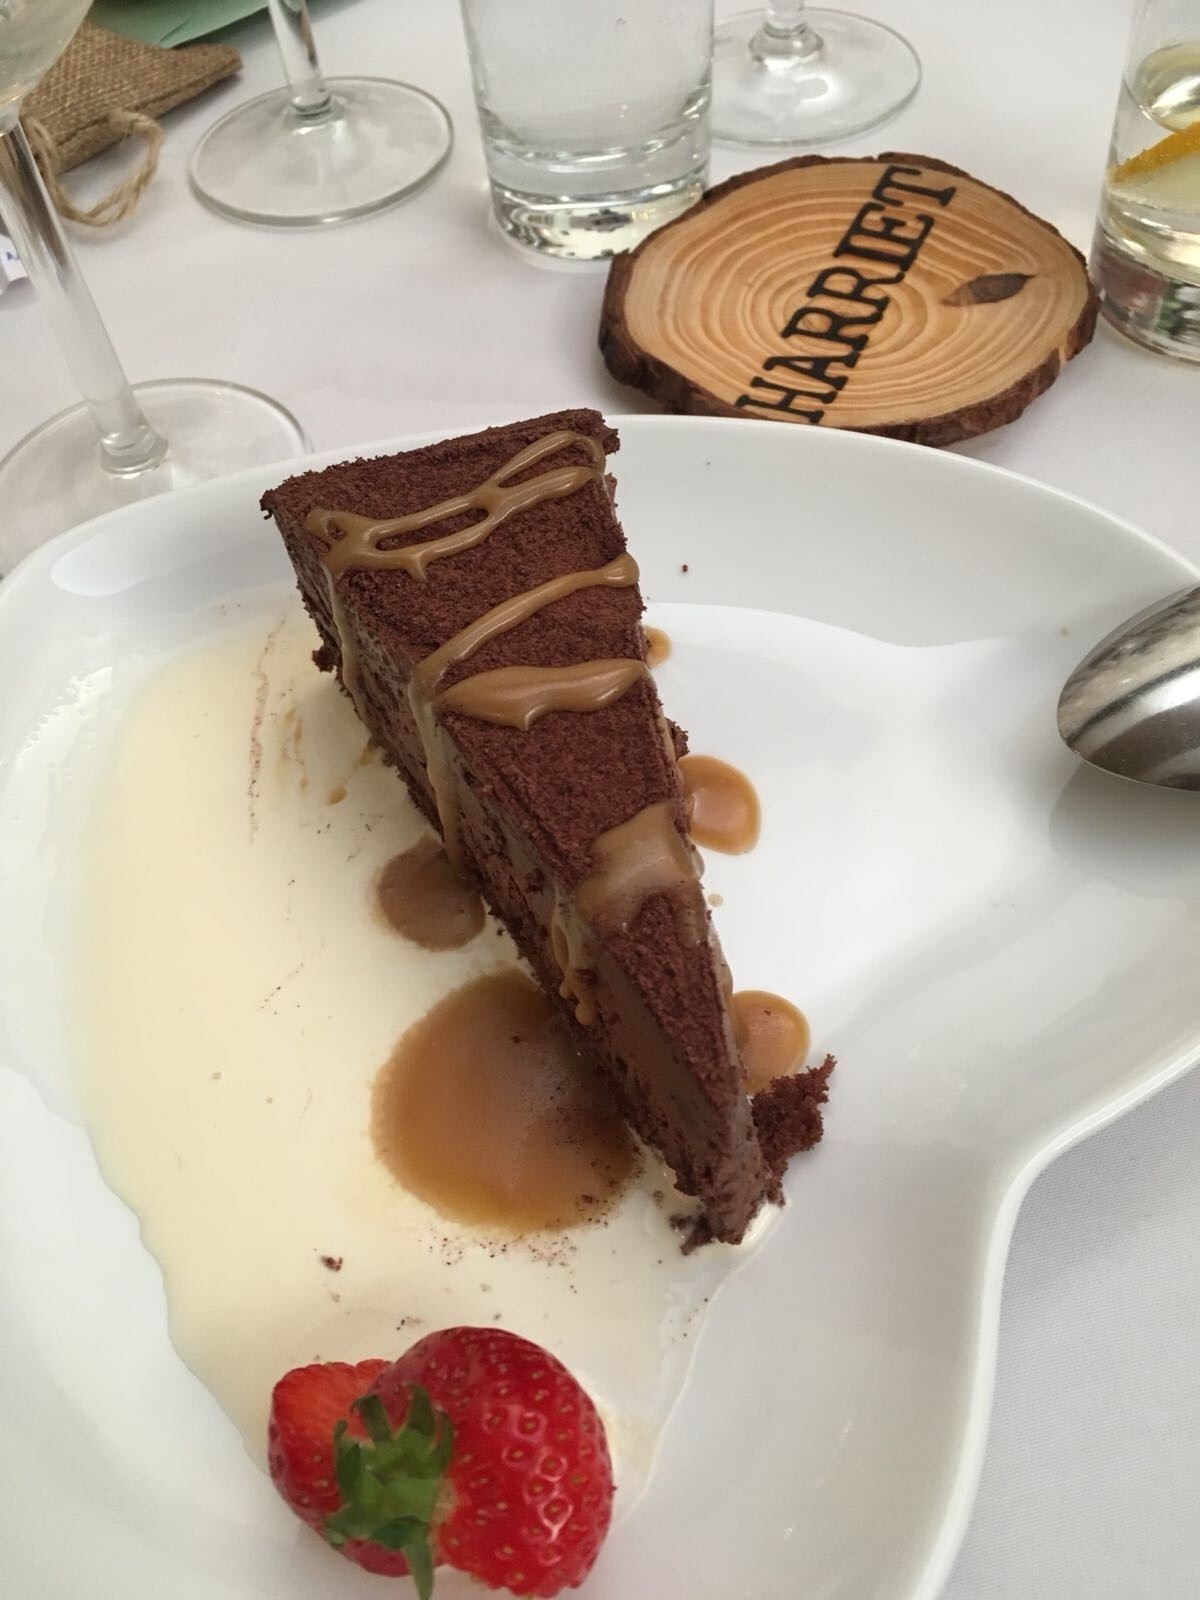
And voila, there you have it – beautiful, handmade coasters/favours/name-places for all of your guests!

Oh my goodness! I love these! I’m going to give it a go !
LikeLike