I haven’t written a blog post in a little while, as my actual job (which sadly doesn’t involve any wool) had a very busy start to the year. Fast forward a few months now though, and the UK is in lockdown, I no longer go into the office, and I’ve found myself able to get reacquainted with my wool stash. Knitting myself some new friends that I can see beyond Zoom calls is becoming a distinct possibility.
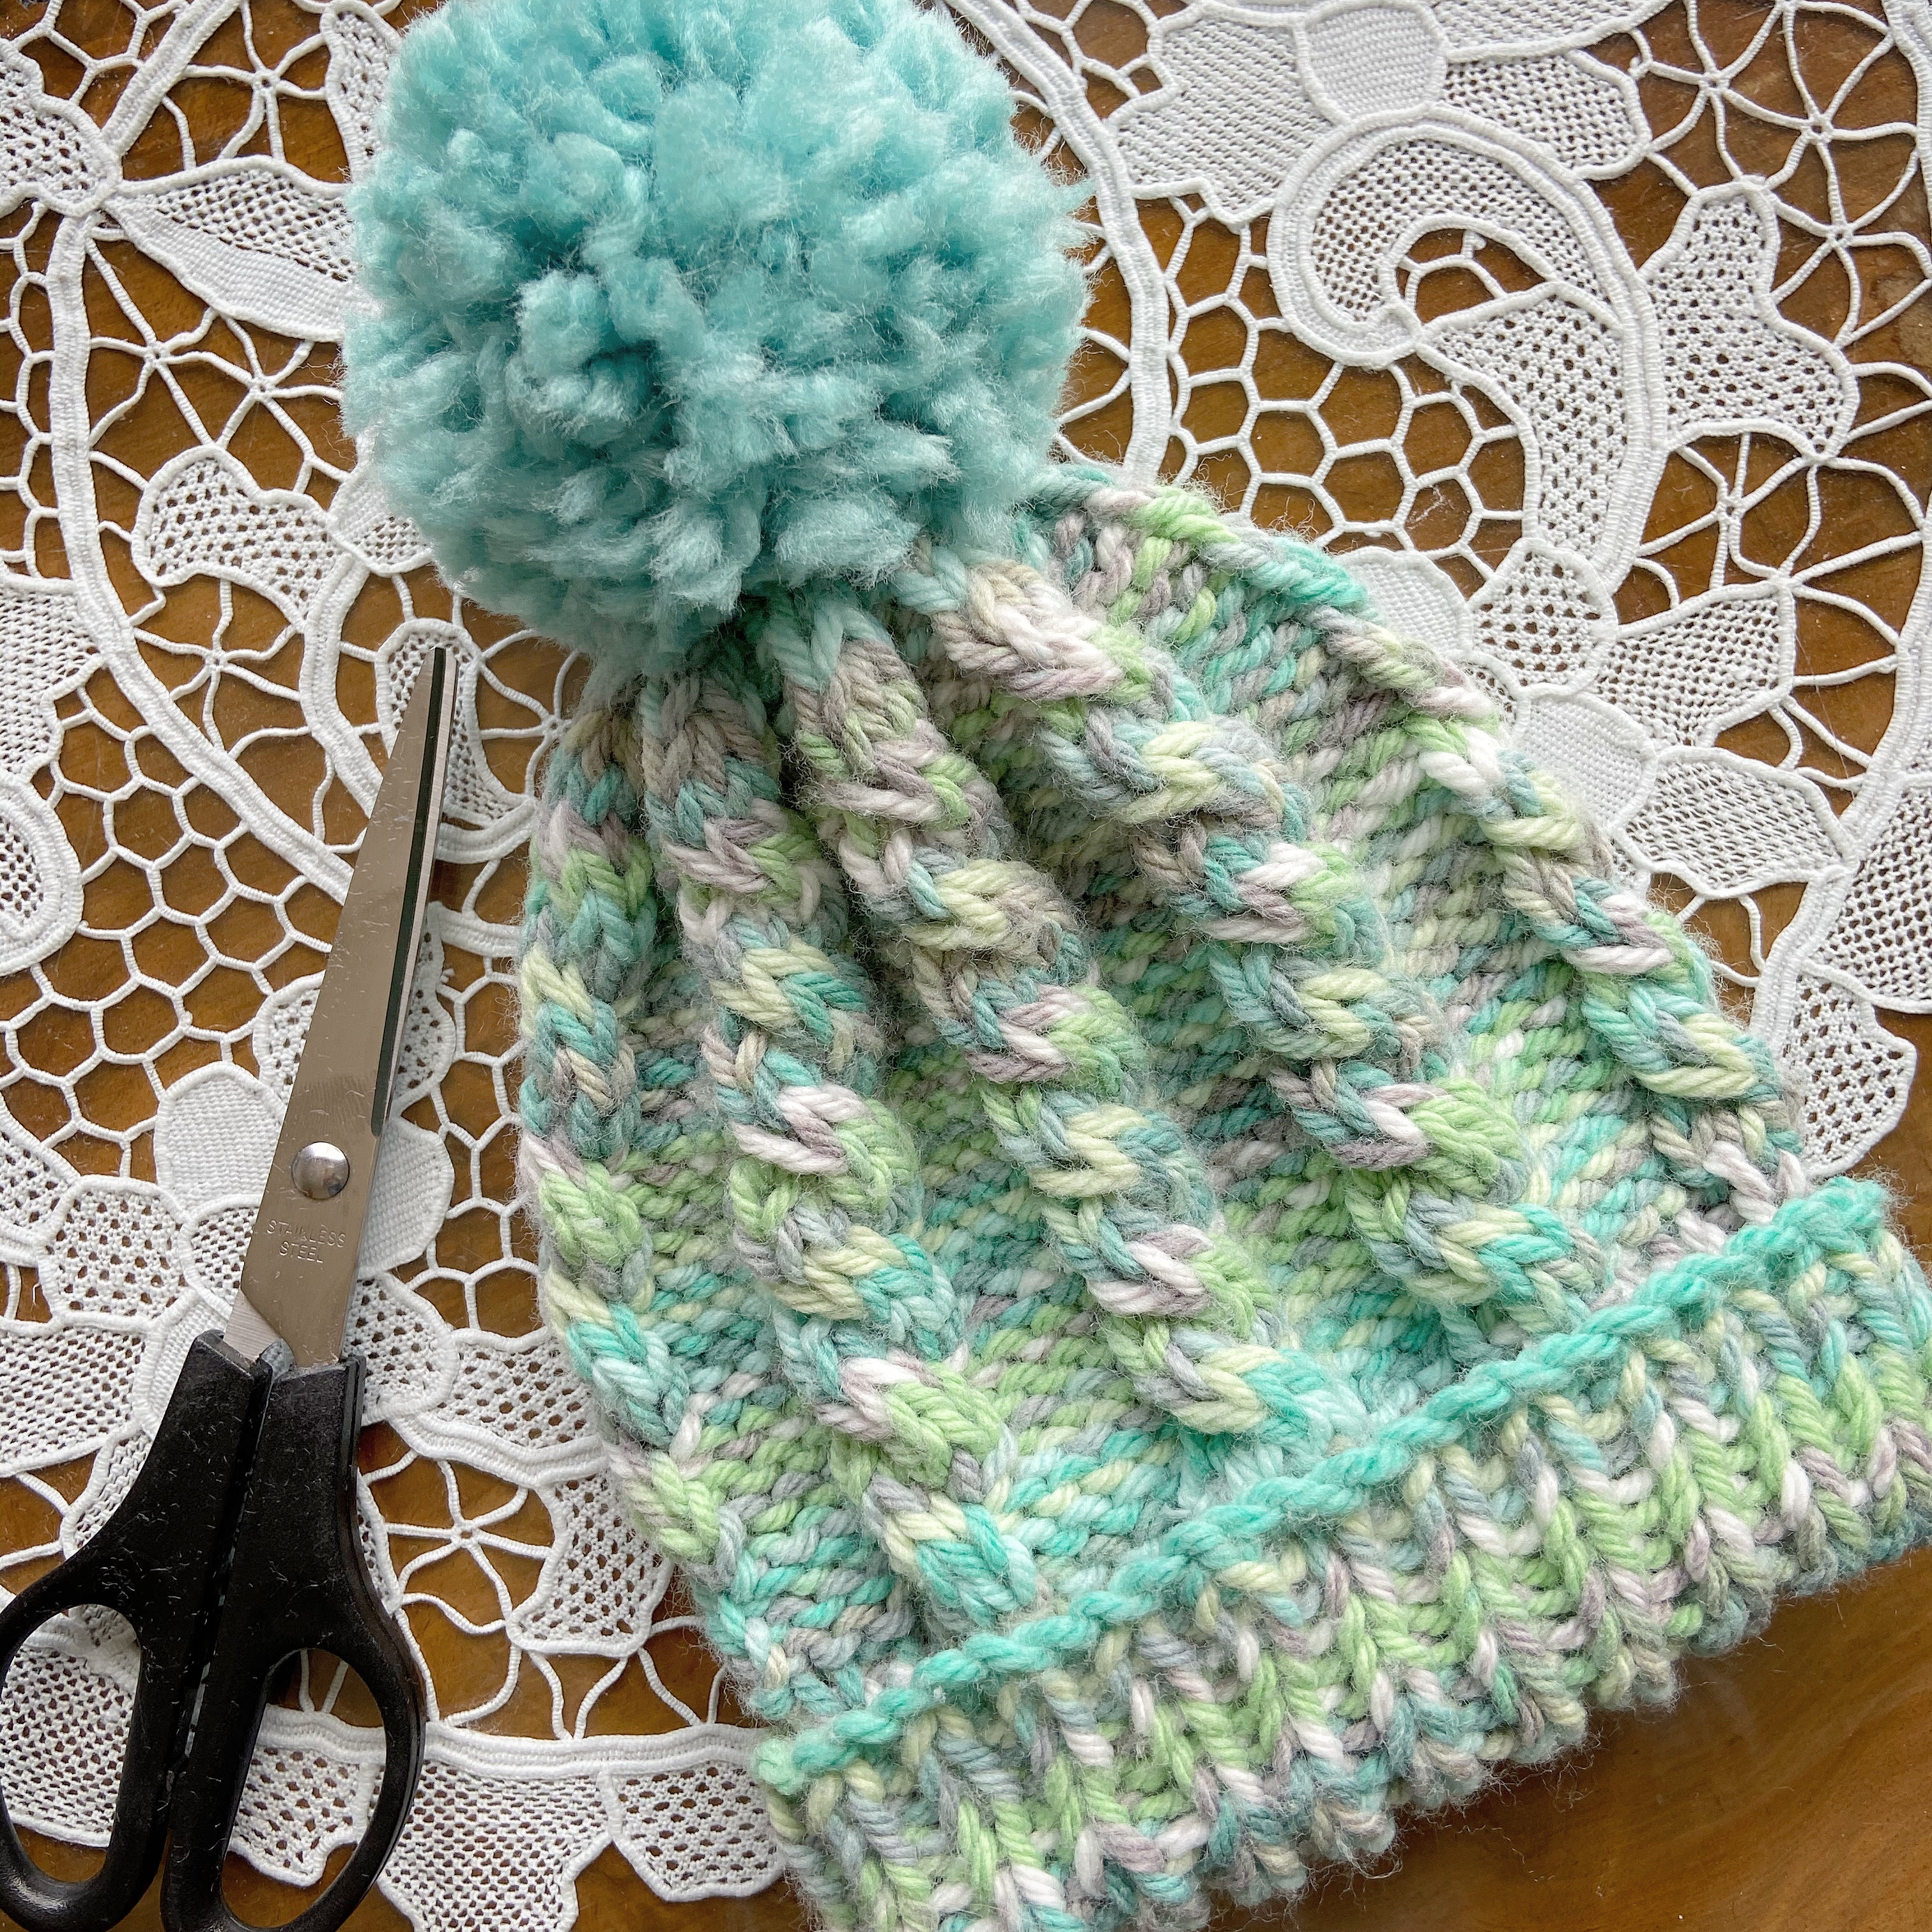
And so I haven’t yet baked banana bread, but I have devised a few new knitting patterns. Here’s a nice simple cabled baby hat that I tried out in chunky yarn. Like my other hats, I’ve kept to a literary theme – this one’s the Kerr Baby Beanie after Judith Kerr, who wrote the Mog books and The Tiger Who Came To Tea.
It’s designed for 0-3m babies and comes out at about 15cm width on the brim when laid flat. I did manage to get it onto my own undersized adult head with stretching, so there’s a bit of room to play with.
Take a look and let me know what you think!
What you need:
- Chunky baby yarn, approx. 75 metres – I used a single skein of Sirdar Snuggly Baby Crofter Chunky in Fraser – if you use the same yarn, you might want to get two, as I finished with only a tiny bit left to spare!
- 5mm circular knitting needles
- 6mm circular knitting needles
- Yarn needle for sewing up ends
- Extra yarn for your pom-pom
Things to know:
- K = knit
- P = purl
- C2F = slip 2 stitches onto your cable needle and hold it in front of your work, knit the next two stitches from your main needle, and then knit the two stitches from your cable needle
- K2tog = knit two stitches together
- P2tog = purl two stitches together
How it’s done:
Knitting the brim of your hat:
- Take your 5mm needles, and cast on 64 stitches
- Knit in rib stitch (K1, P1 repeated) in the round until your work measures 5cm
Knitting the body of your hat:
Switch to your 6mm needles
- Rows 1-3: (K4, P4) to end
- Row 4: (C2F, P4) to end
Repeat row 1-4 six times.
Decreasing for the crown of your hat:
Now it’s time to start decreasing your rows to shape the top of your hat.
- Row 1: (K2tog x2 , P4) to end – 48 stitches remaining
- Row 2: (K2, P2tog x2) to end – 32 stitches
- Row 3: (K2tog, P2) to end – 24 stitches remaining
- Row 4: (K1, P2tog) to end – 16 stitches
Cut your thread leaving approximately 15cm tail, and pull it through the remaining stitches. Pull tight to close the top of your hat, and secure with a knot.

Making your pom-pom:
It’s now time to add your bobble – my favourite part of every hat!
My new and preferred method of doing this is with a pom-pom maker, as your bobbles come out super neat and don’t waste as much wool. I got mine from Fielders in Wimbledon (I highly recommend them if you are local), and they are also available at Hobbycraft in a range of sizes – my usual philosophy is the bigger, the better!
In case you don’t have a pom-pom maker handy, it’s still possible to make a perfectly good bobble using just your fingers and a pair of scissors. Get your chosen yarn, and wind it around three finger, leaving a 15cm length at the end for sewing it onto the hat. I went for about 200 winds, but you can vary it depending on how big you want the pom-pom to be. Then take a separate piece of thread and tie it through the middle of the wool – your pom-pom is now secure, so you can slide it off your fingers.
Now for the messy bit – I’d advise doing this over a bin! Get your scissors through the loops, and cut round the pom-pom. Once you’ve done this, keep trimming round the strands until your pom-pom is nice and even – kind of like giving it a hair cut! Make sure that you don’t cut off the long end that you need for sewing.
Once you’re happy with your pom-pom using either method, sew it onto the top of your hat, using the long end that hopefully survived the hair cut. If it didn’t, you can just sew a new length of yarn through the middle of the pom-pom.
And you’re finished! As always, I’d love to see your photos – please tag me on your Instagram as @craftitlikekatie or use the hashtag #craftitlikekatie

