The Hardy Beanie – ribbed pattern adult bobble hat

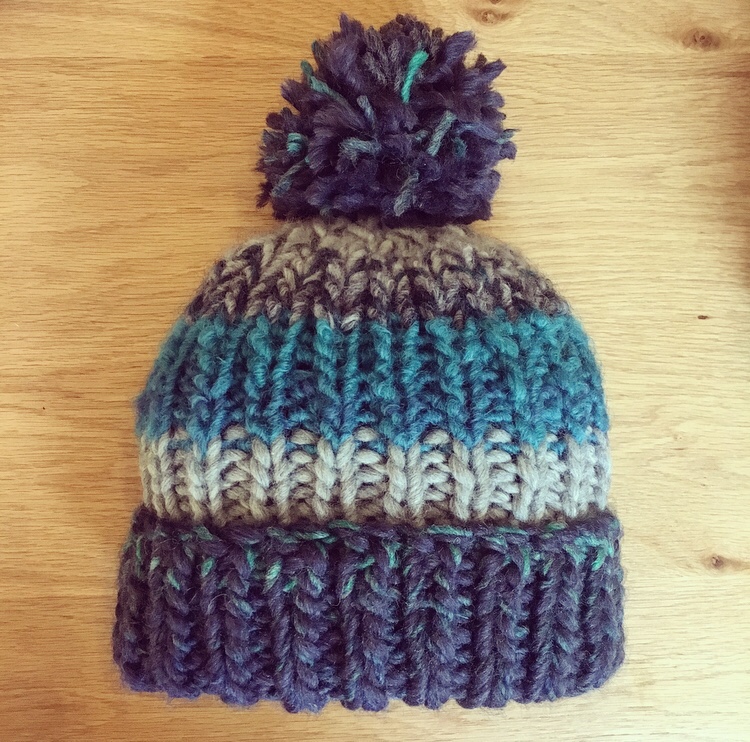
I’ve just started knitting bobble hats on commission to raise money for my friend Harriet’s amazing Moldova project charity (see https://themoldovaproject.com/ if you’d like to know a bit more about them). Cue lots of new wool, experimental colour schemes, and different patterns. I think I might be close to becoming crazy bobble hat lady…

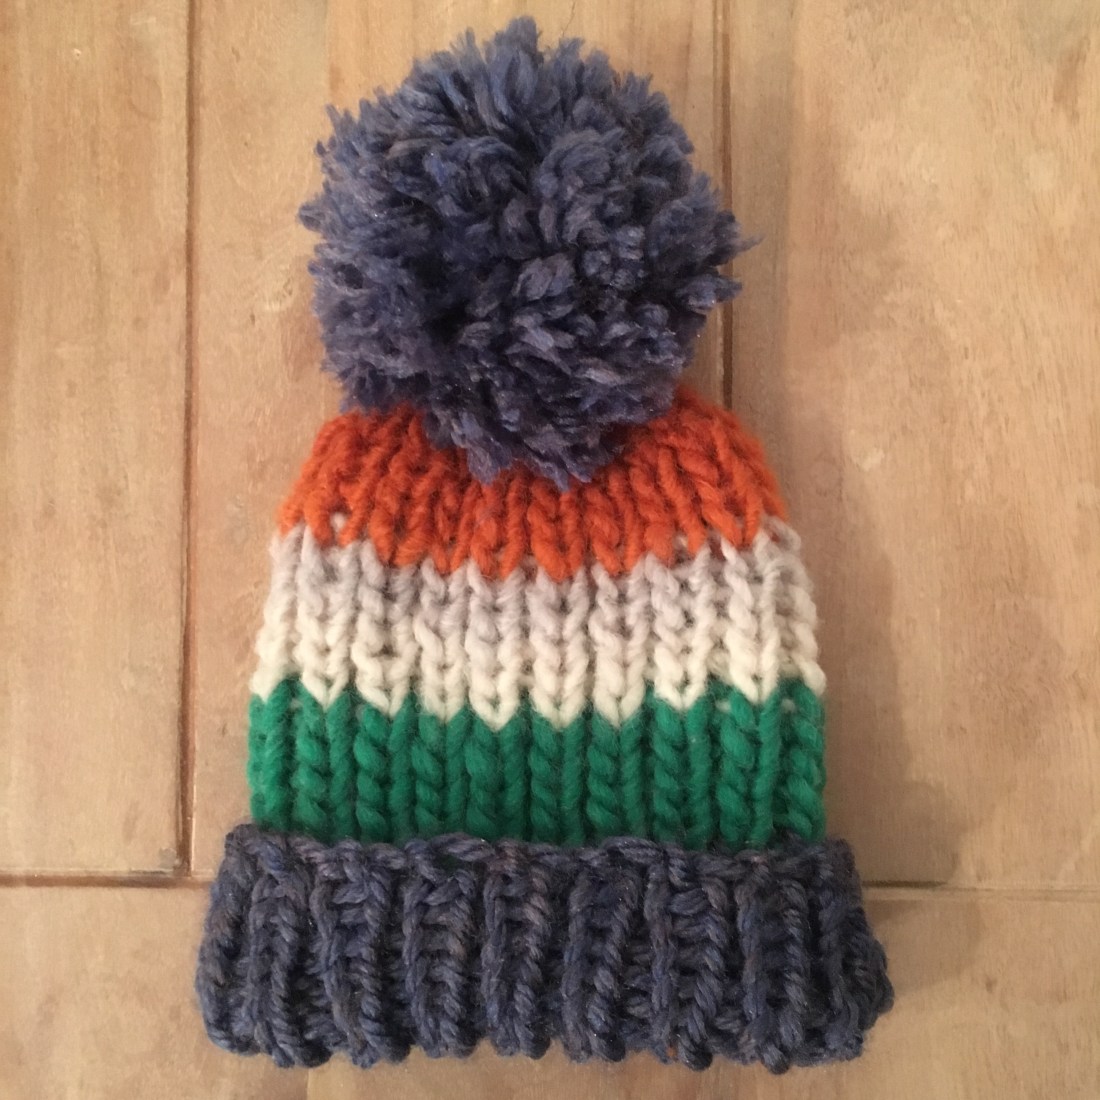
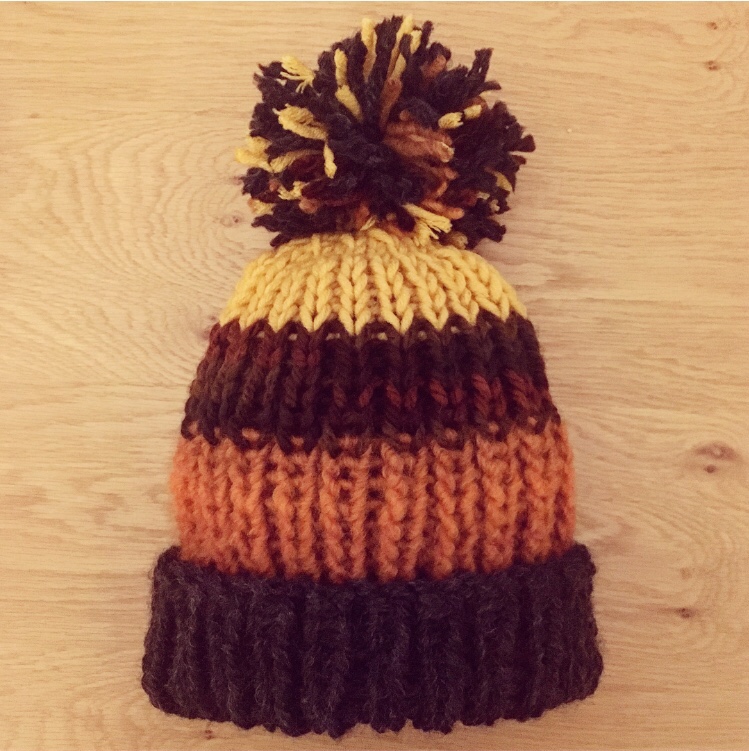
So this hat is different to ones that I’ve done before in that it folds over at the bottom, and keeps the 1×1 rib pattern going all the way to the top. This created a small amount of panic when I realised that I didn’t know how to decrease in rib, but after a bit of research, a solution was found (welcome to my new technique, slip/slip/knit!)

Here goes with the pattern…

Needles: 10mm straight knitting needles, plus yarn needle for sewing up at the end

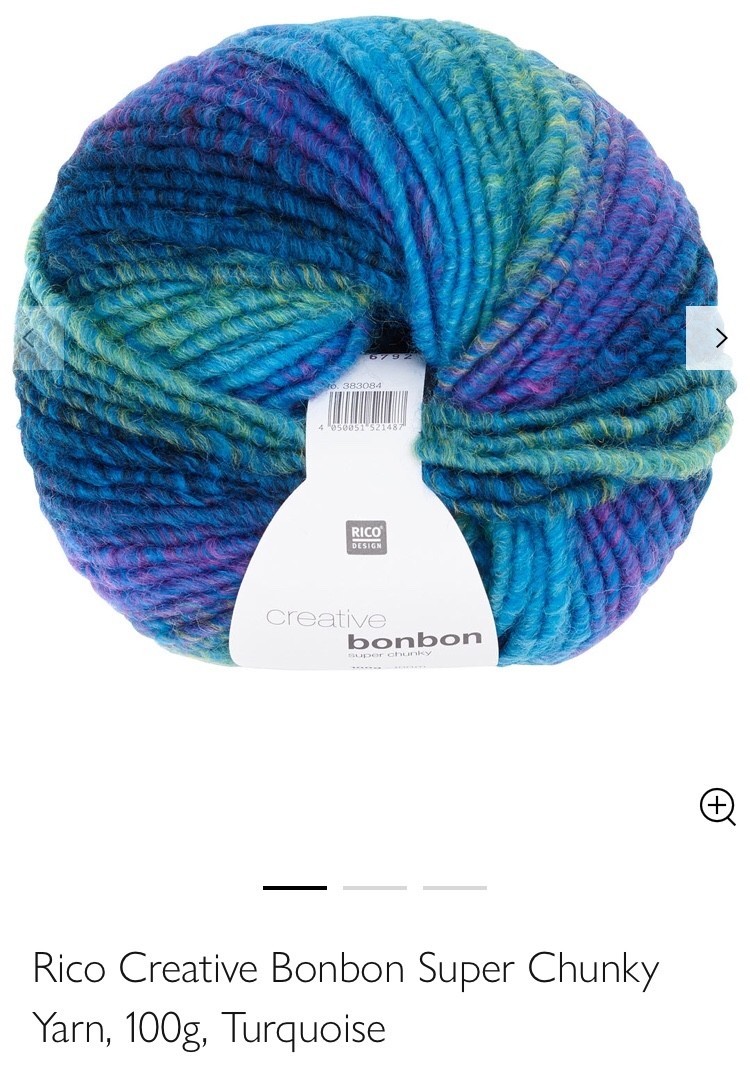
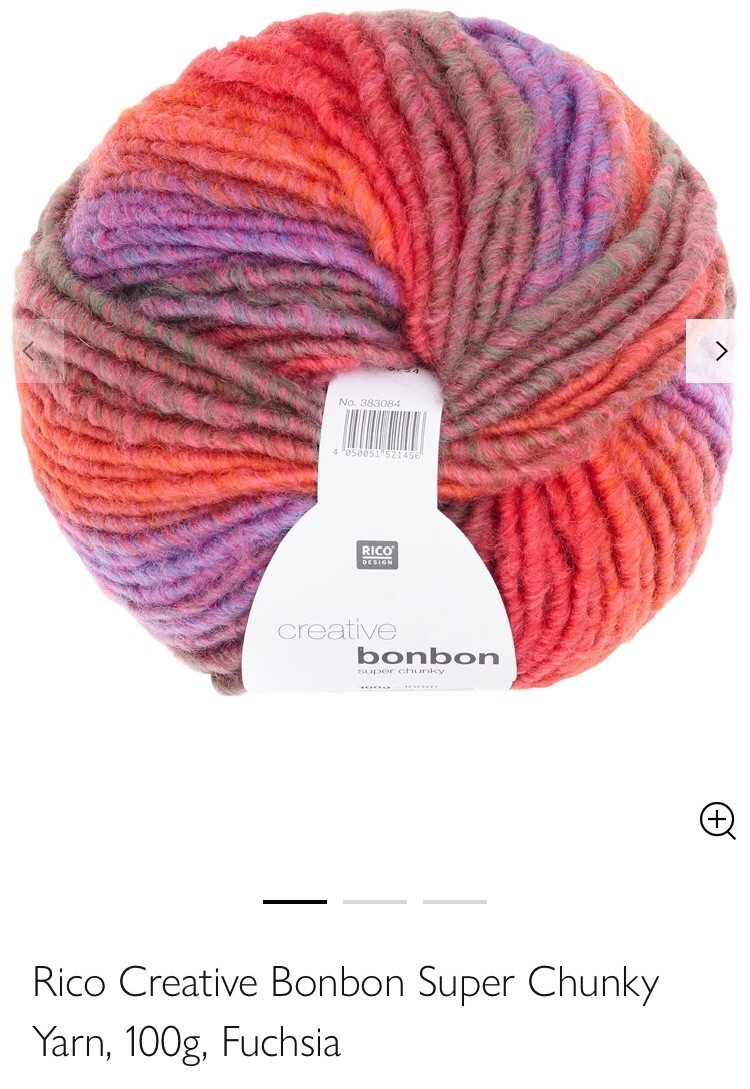
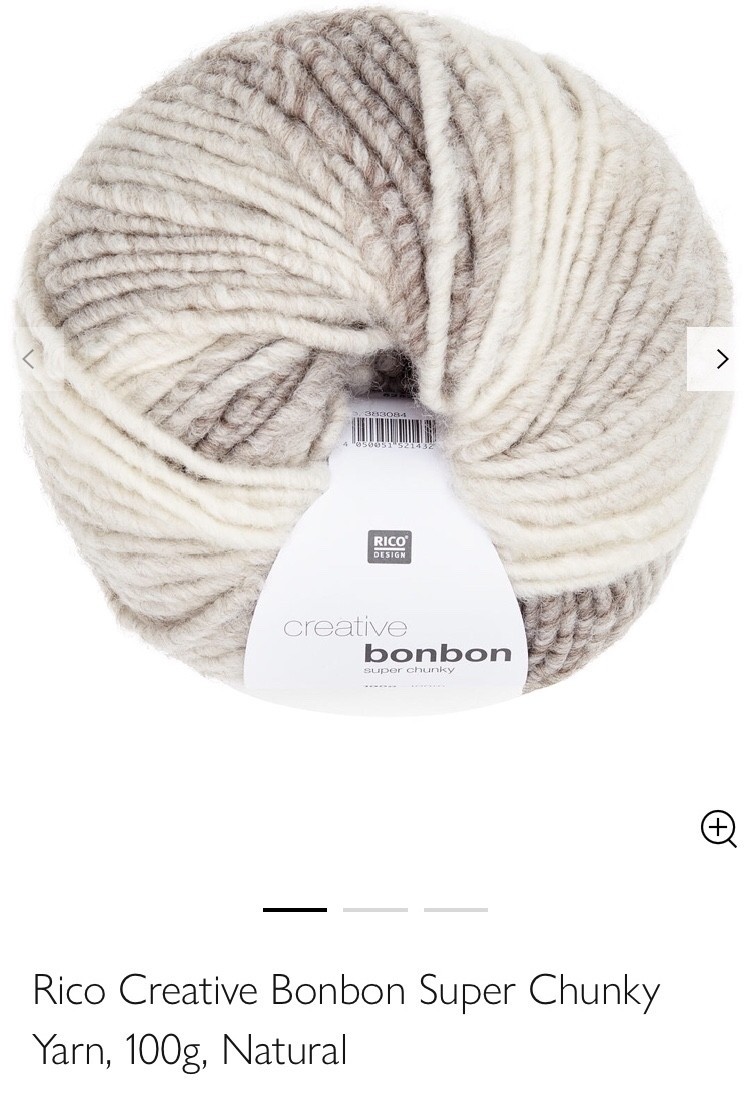
Yarn: I used Rico Creative Twist Super Chunky in navy and silver grey (link here) and Rico Creative Melange Big in multi nature and teal-aqua (link here). Depending on how often you swap colours, you’ll need just over one skein in total.

Directions:

Cast on 46 stitches in your first colour

Rows 1-16: (K1, P1) – ribbed pattern

Rows 17-22: change to second colour, (K1, P1) – ribbed pattern

Rows 23-28: change to third colour (K1, P1) – ribbed pattern

Rows 29-32: change to fourth colour (K1, P1) – ribbed pattern

Row 33: stay with fourth colour, and start to decrease (SSK) to end – 23 stitches (if, like me, you’ve never tried SSK before, see here for a simple video tutorial that I followed)

Row 34: (P1) all the way

Row 35: K1, (SSK) to end – 12 stitches

Row 36: (P1) all the way

Row 37: (SSK) to end – 6 stitches

Cut your thread leaving approximately 40cm tail, and pull it through the remaining stitches.

Then take your yarn needle, and sew the sides together using mattress stitch. I swapped yarn quite frequently here to make sure that the shades matched.

You’re then ready to make your bobble – I went back to my first colour for this. See my Rico Bobbles post for bobble instructions.

Fold over the rim of your hat, and you’re ready to face the winter. I’m almost tempted to keep this one for myself!

For more free knitting patterns and craft inspiration, you can find me on Instagram as @craftitlikekatie – tag me in your makes!

The Andersen Beanie – baby and toddler bobble hats, knit flat

Bobble hats – I just can’t get enough of them!

When it come to favourite things to knit in a spare few hours, super chunky bobble hats are my go-to. So when our neighbours had a new baby, it didn’t take me long to decide what I was going to make for them!

After messing around with a few different colours, I took a trip to Fielders in Wimbledon (amazing little art and crafts shop, definitely recommend!) and discovered Rico Creative Bonbon Super Chunky Yarn. There was an abundance of colours to choose from, and so I decided to make two hats (our neighbours have a little girl too), and opted for turquoise, fuschia and natural.

I’m slightly obsessed with this wool – only the thought of my husband’s reaction stopped me from buying every colour that they had in stock (our house is pretty much bursting at the seams already!)

Anyway, onto the pattern!

Size: I’ve shown the number of stitches needed for baby-size, with toddler in brackets

Needles: 9mm straight knitting needles, plus yarn needle for sewing up at the end

Yarn: 1 ball of super chunky wool (I went for Rico Creative Bonbon) for first colour, and different shade for the second colour. You don’t need much from each ball – mine were 100m each, and I have loads left.

Directions:

Cast on 34 (40) stitches, starting with your first colour

Row 1: Knit all stitches

Row 2-8: *k2, p1* to the end of the row (7 rows of ribbing)

Then switch to your second colour…

Row 9: Knit all stitches

Row 10: Purl all stitches

Repeat rows 9 and 10 for 5 (6) more times, giving you a total of 12 (14) rounds of stockinette.

Then decrease for the crown of the hat as follows:

K1, and then *K2tog* until one stitch before the end of the row, k1 (18, 21 stitches)

Purl all stitches

K1, then *K2tog* until one (two) stitch(es) before the end of the row, k1(2) – (10, 11 stitches)

Purl all stitches

K1, then *K2tog* until one (two) stitch(es) before the end of the row (6 stitches)

Cut your thread leaving approximately 40cm tail, and pull it through the remaining stitches.

Take your yarn needle, and sew the sides together using mattress stitch. I swapped yarn quite frequently here to make sure that the shades matched.

Making your pom-pom:

Get your chosen yarn, and wind it around three finger, leaving a 15cm length at the end for sewing it onto the hat. I went for about 200 winds, but you can vary it depending on how big you want the pom-pom to be. Then take a separate piece of thread and tie it through the middle of the wool – your pom-pom is now secure, so you can slide it off your fingers.

Now for the messy bit – I’d advise doing this over a bin! Get your scissors through the loops, and cut round the pom-pom. Once you’ve done this, keep trimming round the strands until your pom-pom is nice and even – kind of like giving it a hair cut! Make sure that you don’t cut off the long end that you need for sewing.

Once you’re happy with your pom-pom, sew it onto the top of your hat, using the long end that hopefully survived the hair cut. If it didn’t, you can just sew a new length of yarn through the middle of the pom-pom.

And there you have it – a beautiful, snuggly, pint-size bobble hat!

Happy knitting! For more free knitting patterns and craft inspiration, you can find me on Instagram as @craftitlikekatie – tag me in your makes!