The weather has been crazy hot this week here in London, and so I’ve taken a break from my knitting projects and treated myself to some new wood-shape and paper-craft treats from one of my favourite craft suppliers, Artcuts.
Artcuts sell the most beautiful Chiyogami paper, which is perfect for use in découpage, because the fibres bond to the edges of wood shapes really well. This means that you can use it for smaller and more delicate shapes too, but coasters are the perfect first project to try it out for the first time.
Since starting to make these coasters, I’m a little bit obsessed (friends, family and distant connections, you know what you’re getting for Christmas!) – they’re easy to do, but come out looking beautifully professional.
What you need:
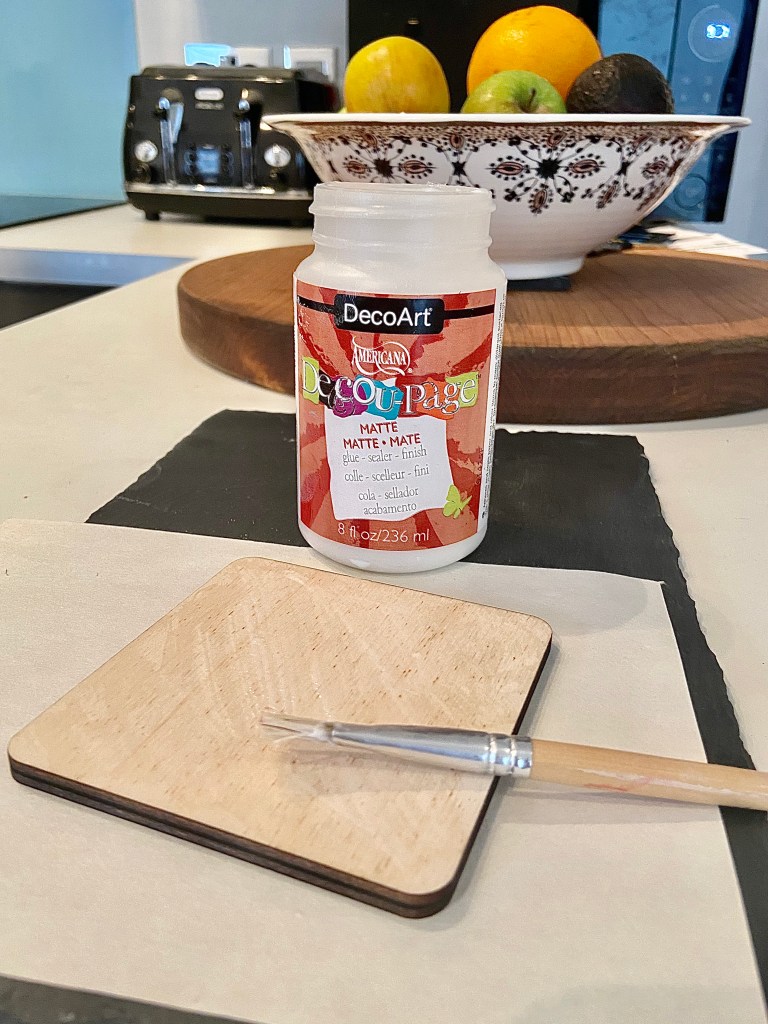
- Artcuts wooden square coasters (they also have hexagons if you’re feeling a bit fancy)
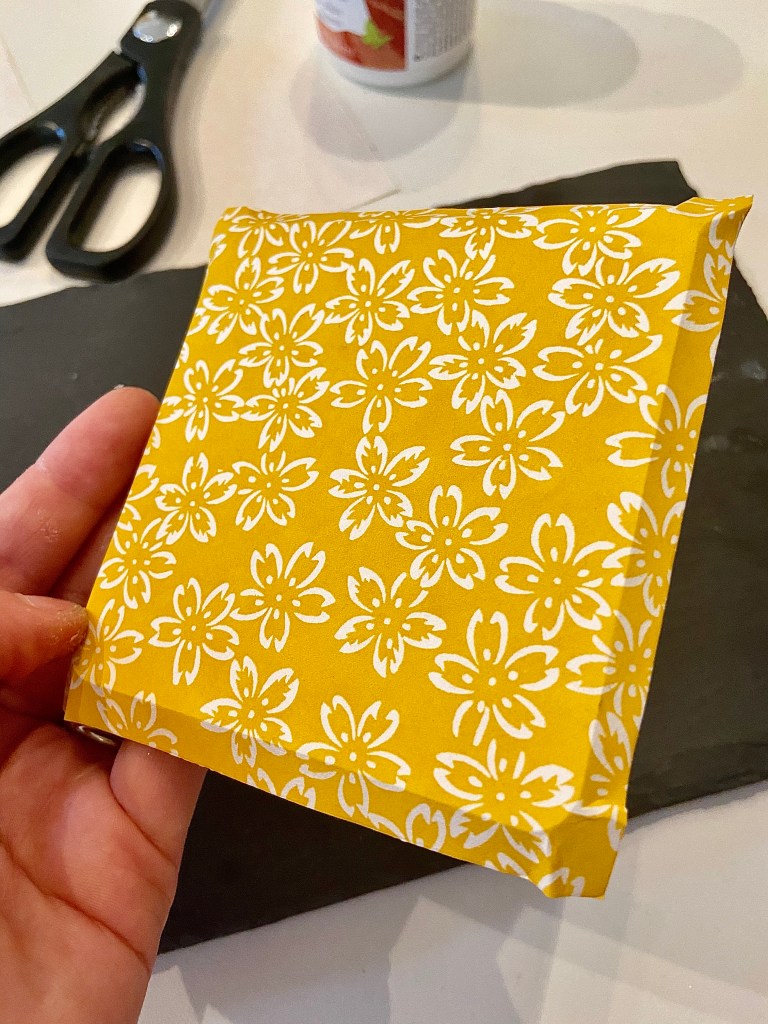
- Artcuts Chiyogami paper in your choice of design (disclaimer – you may find that you come away with more than you intended, because the patterns are so beautiful it’s very hard to choose!)
- PVA glue
- Polyurethane varnish
- Scissors
- Fine grit sandpaper or a normal nail file
- Paintbrushes for your glue and varnish
- Felt (optional)
How it’s done:
- Apply a light coating of PVA to one side of your coaster with a paintbrush, making sure that you don’t leave any gaps
- Place your Chiyogami paper down onto the coaster, and press it down, making sure you don’t get any air trapped. I use a jar or rolling pin to make sure it’s totally stuck down
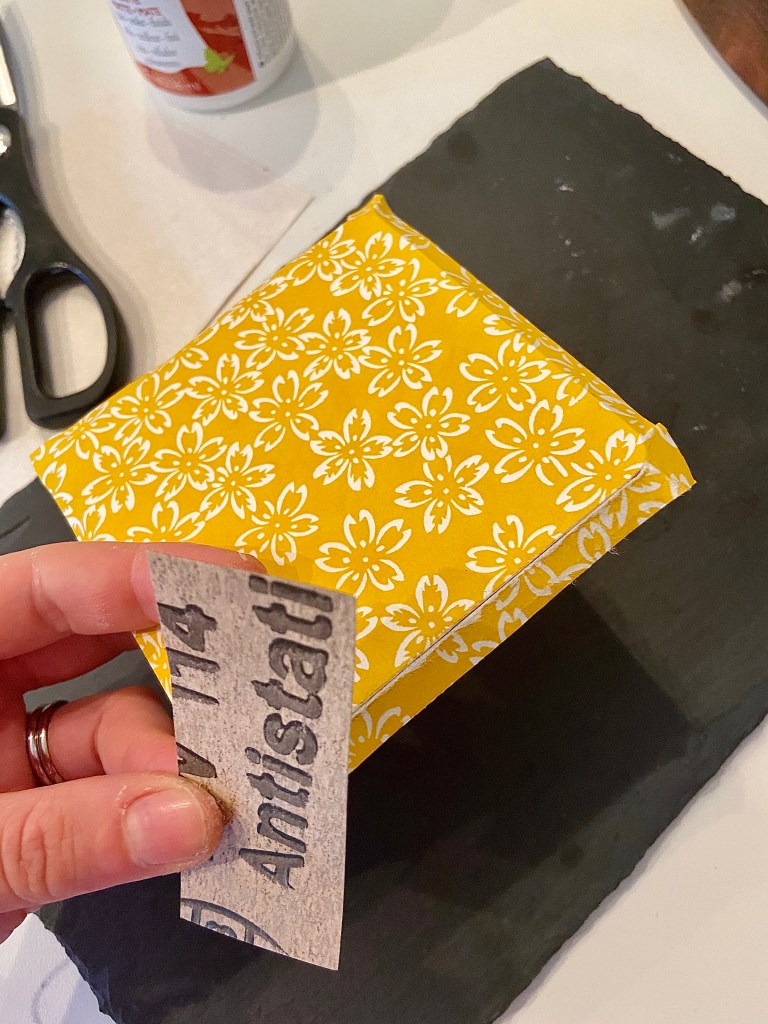
- Trim round the edges, leaving a small border
- Use your sandpaper or nail file to remove the excess paper from the edges of your coaster, pulling the sandpaper firmly down over the edges of the coaster to get a sharp edge. Don’t worry if you don’t get everything off in your first sweep, you can keep buffing it until it’s nice and clean. Artcuts have a great demo of how they do this here, which helps to visualise it if you’re not too sure
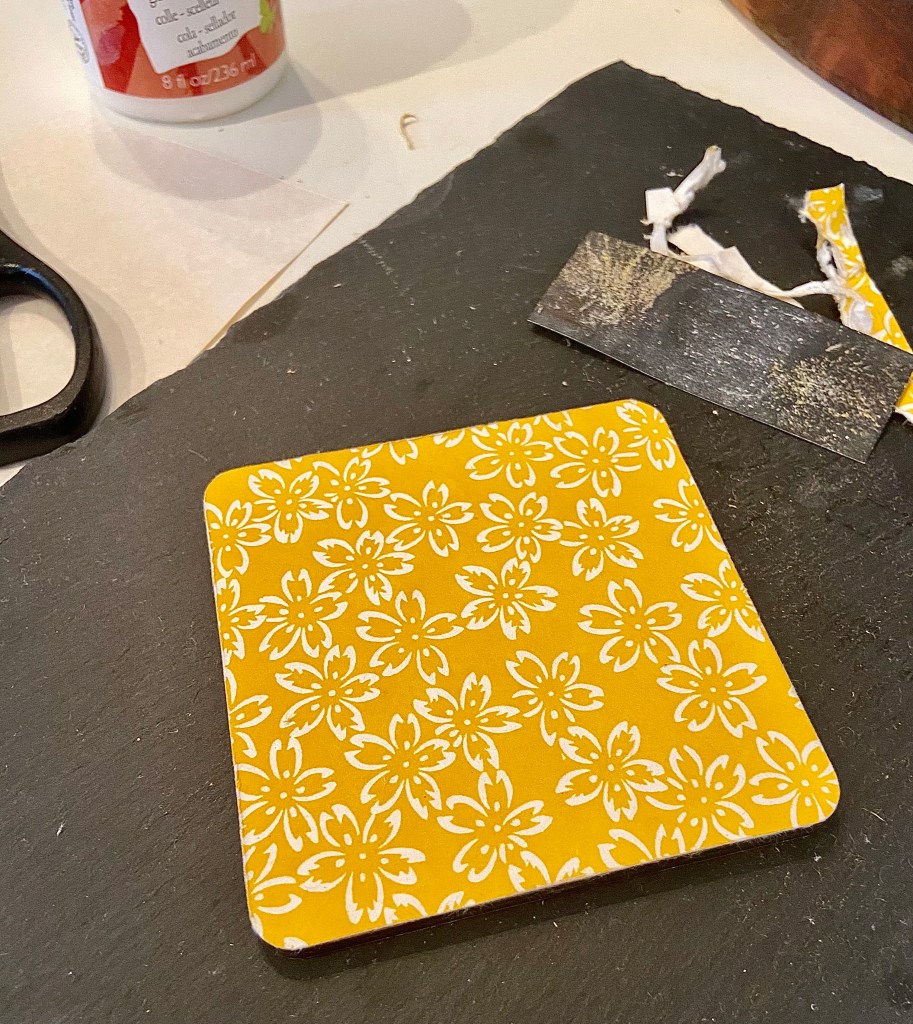
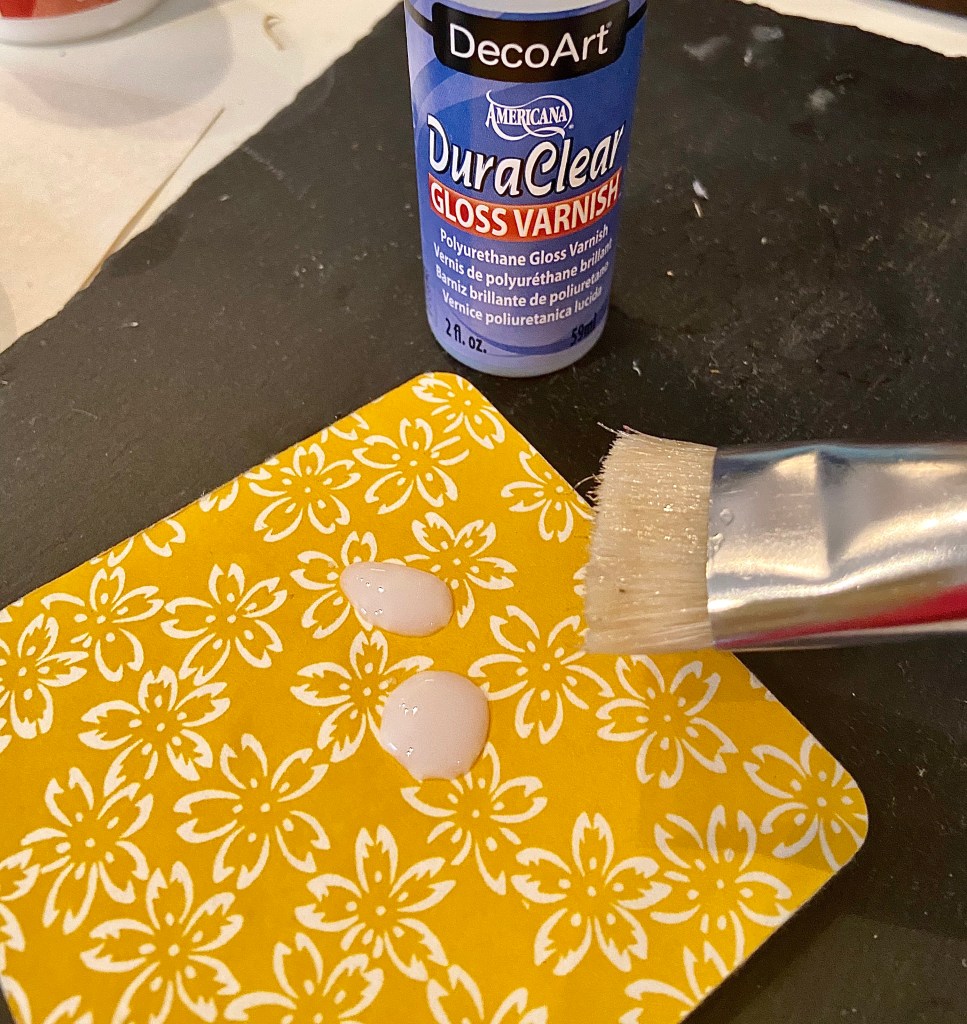
- Finally, you just need to make sure that your coaster is waterproof – you don’t want the pattern to smudge and get soggy when you put a drink down. To do this, spread a couple of drops of varnish over the top and edges of your coaster – once I’ve covered it all, I brush over a final time in one direction with my paintbrush to get a tidy finish
- Allow to dry, and repeat twice more. I also varnished the bottom of my coasters to make them more durable
- As a final step, you may like to add a layer of felt to the bottom of your coasters, particularly if you’re super paranoid about scratches to your coffee table. It also adds a nice weighty feeling to them, which gives a bit of added luxury! All you need to do here is stencil round your coaster shape onto a piece of felt, cut it out, and then stick it on the bottom. Then, your coasters can slide across even the most expensive surfaces like a dream!
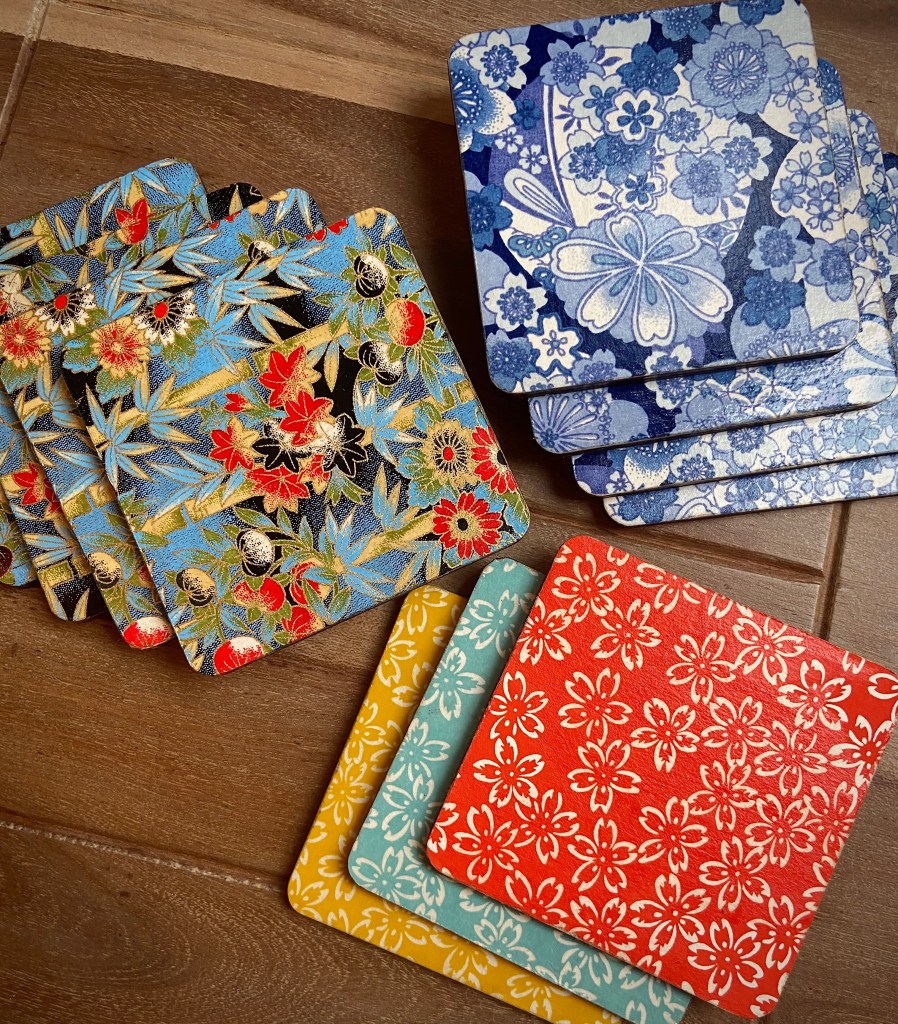
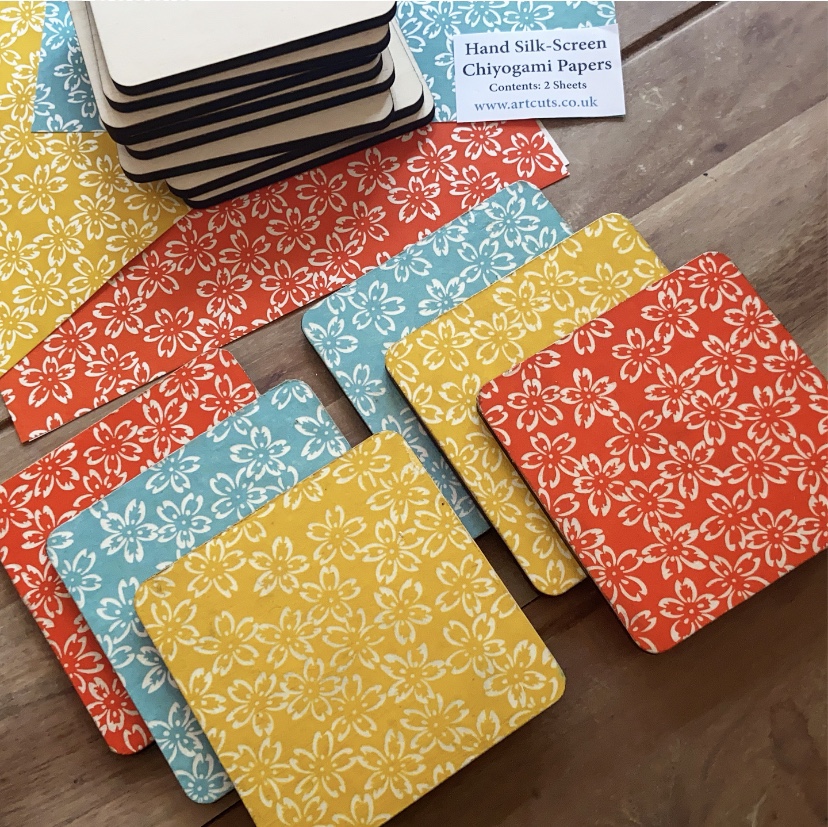
And that’s your coaster done! You can get four out of one pack of Chiyogami paper, so there’s lots of fun to be had trying out different sets, or doing a bit of mix and match.
Take a look below for a few that I made earlier – there are so many choices of pattern and colour that you can easily match them to your decor, or try out different styles for gifting.
You can find more on what I’m making on my Instagram page @craftitlikekatie – and please send me photos of anything you’ve tried, I’d love to see them!