Decoupage bridesmaid dress hangers

If you’re looking for beautiful, handmade hangers for your wedding party dresses, there’s a load of choice out there – my Pinterest wedding board knew this well. But amidst the endless pay-outs that come with planning a wedding, you might not really want to start spending more money.

So why not make them yourself? It’s really easy (and fun too), I promise!

Decoupage sounds fancy (it’s a French word, of course it does), but it’s basically just a case of gluing pieces of paper onto something else to make it look prettier. Totally accessible for even the most amateur crafter.

Ready to make some basic wooden coat hangers look really pretty?

As with most decoupage projects, this one requires a fair few ‘glue-drying’ cycles. So it’s super easy, but maybe not one to leave until the night before!

What you need:

  • Wooden coat hangers – such as these from Argos
  • Decoupage paper – I used a range of different colours for the bridesmaids’ hangers, and then a single white sparkly paper for mine. Hobbycraft do a great range here
  • Decoupage glue – I used Mod Podge, which was my new best friend after making my foil monogram letters
  • Black Sharpie pen
  • Plain card for writing names – mine was Hobbycraft Kraft Brown Premium Card, which I also used for our orders of service
  • Scissors
  • Sponge brush or thick paintbrush to apply the glue

What to do:

  • First, cut out rectangles of your plain card that are just a bit smaller than the top section of your hanger
  • Using your black Sharpie pen, write your first bridesmaid’s name onto the card. I used an online calligraphy generator to stylise the script (my handwriting isn’t great, but I’m a pretty good copier!)
  • Let your ink dry, and then glue your name label to the front of the hanger
  • Next, you’re ready to decoupage! Apply a layer of glue to the front of your hanger, also making sure to cover your name label
  • Tear up your decoupage paper, and start sticking pieces onto the front of the hanger. You can mix up different colours and different-sized pieces as much as you like. Make sure that you don’t cover up your name label, but overlap onto the card slightly to soften the edges
  • Now it’s a bit of a waiting game – you’ll need to let your front side dry before you start working on the back and sides (unless you want to come back and find your hanger stuck to the table!) I did the front side of all six hangers in one go to speed this stage up
  • Once dry, do the same tear and stick job on the back and sides of your hangers – and let dry again
  • Repeat these steps for both sides one more time to get good coverage – sometimes the paper can look a little see-through if you only do one layer

After you’re happy with the effect, all you have to do is sit through one more drying cycle, and your hangers are ready to go.

Cheap, personal and handmade all the way!

As always, I would absolutely LOVE to see your photos if you try this out – so hit me up crafters…

Antique-foiled monogram letters

Starting with a disclaimer – this project was a total steal. To check out the original, take a look at https://www.whatchaworkinon.com/archives/2292

What I can offer you though, is the confidence that anyone can do this! I really wanted to have some nice, rustic monogram letters at our wedding, but I just didn’t want to spend much money on them. Then I saw these on Pinterest, and decided that they looked worth a try…despite one of my bridesmaids warning me that it might not end up quite like the pictures (oh ye of little faith!) And I’m pretty pleased with how they turned out!

So, how is it done? You can of course take a look at the link I shared above…but feel free to keep reading for the dummy’s guide to antique foiling.

What you need:

  1. MDF or wooden letters – mine were the 25cm MDF letters from Hobbycraft, which don’t have the nice weight of wooden, but are very cheap and look exactly the same once they’re covered in foil and glue
  2. A pencil for drawing your pattern
  3. Tacky glue – this is your artistic medium for this challenge, so get ready to start swirling.
  4. Tin foil – the basic stuff is fine, just make sure it doesn’t have ‘Bacofoil’ or something similar imprinted all over it – this may happen if you don’t check, and it’s not the look you want
  5. Decoupage glue – here I discovered Mod Podge for the first time. I went for the basic matt one, but you can also go wild with glitter types etc. if you’re so inclined
  6. Shoe polish – I did a mixture of brown and black (largely because we had both), but you could opt for just the one
  7. A sponge or soft cloth to apply said shoe polish

How it’s done:

  • Take your MDF letter, and draw your pattern onto it in pencil. Remember that you’re going to need to shape the foil round the pattern once it’s risen with the glue, so leave a bit of space between the swirls and dots (or whatever design you choose)
  • Once you’re happy with your pattern, go over it with your tacky glue. You may want to do a second later once the first has dried, to make it more pronounced. This is an overnight job, so it’s probable that whoever you live with will come and ask what’s going on when they see these strange letters drying all over the kitchen
    Cover your letter with Mod Podge glue. Then, cut out a piece of foil in the shape of your letter, plus about half an inch extra. Press this down onto your letter, and mould round the edges, making tears if you need to. If you have holes in your letters, cut slits in the holes up to each corners and fold your foil over the sides
    Massage down the foil into the shapes made by your swirls, until you can see the pattern through
    At this point, your edges are likely to look a bit messy. Cut strips of foil that are the width of your edges, and glue these round. You can also foil the back of the letters if they’re going to be showing.
    Now for the fun bit – get your shoe polish, and squeeze onto a soft cloth (the type used for dusting is ideal). You can use brown, black, or a combination of both. Keep dabbing it on until you’re happy with the level of tarnish
    Coat with a layer of Mod Podge to seal your design, and let dry. I completed this step a couple of times to make the letters really strong, adding extra shoe polish each time

And your letters are ready! I added picture hooks onto the back of mine to hang them, but they can also lean against things.

I’m already trying to think of new ways that this tacky glue/Mod Podge/foil combination could be used for other crafts – if you have any ideas, let me know!

Handmade Orders of Service


RK-0188

By the time I came to orders of service, I was well and truly on the handmade wedding train, with no thoughts of getting off.

Depending on how many guests you have coming to your ceremony, this one could be pretty heavy-lifting to tackle alone – even though it’s not hard, tying 100 bits of ribbon, sticking 400 bits of doily etc. is not a task you can polish off in a couple of hours single-handed.

Call in the bridesmaids! Luckily, they were also up for some wedding crafting, and came round for an afternoon of tea, prosecco, snacks and order of services. It’s worth mentioning at this point that my original design proposal (something like sticking the doily in the middle of the piece of card) was met with complete mockery from my lovely friends, who happen to be much more genuinely artistic than me. So I can’t actually take very much credit for this design at all!

What we used:

1) A4 Kraft Brown Premium Card from Hobbycraft (or something similar)

2) Mini paper doilies (also Hobbycraft)

3) Mixed scrapbooking card with rustic patterns (Hobbycraft)

4) Cream card

5) Sharpie pen or similar

6) Selection of ribbon and twine to match your colour scheme

7) Holepunch, scissors and Pritt Stick

8) Print-outs of your actual order of service to go inside

What we did:

Note – there are lots of separate tasks that need repeating here, so running it like an assembly line is very effective!

1) Folded the Kraft Brown card in half to make an A5 card

2) Cut the doilies into quarters, and stick them in each corner on the front of the card

3) Cut the cream card into small rectangles, and get your friend with the nicest handwriting (or you, if you back yourself) to do the ‘Order of Service’ wording onto this. Also cut the scrapbooking card into even smaller rectangles, and get the same person to do your intial (K&R in our case) to stick on the back

4) Once the neat handwriter has done their thing, back the cream rectangles onto the patterned scrap-booking card, and stick this onto the front of the main card, pretty much in the centre

5) Stick the initials card onto the back of the main card

6) Put your printed orders of service inside the sleeve, and do a half hole-punch on the side (i.e. you want the hole to be a full circle when you open the booklet up)

7) Tie through the ribbons, mixing up different strands of colour

Great for some bridesmaid bonding, but not one to rush. Special credit also goes to my Mum on this, who tag-teamed in to support on the ribbon tying, when I left this part until about two days before the wedding.

RK-0187

Rustic wedding card box

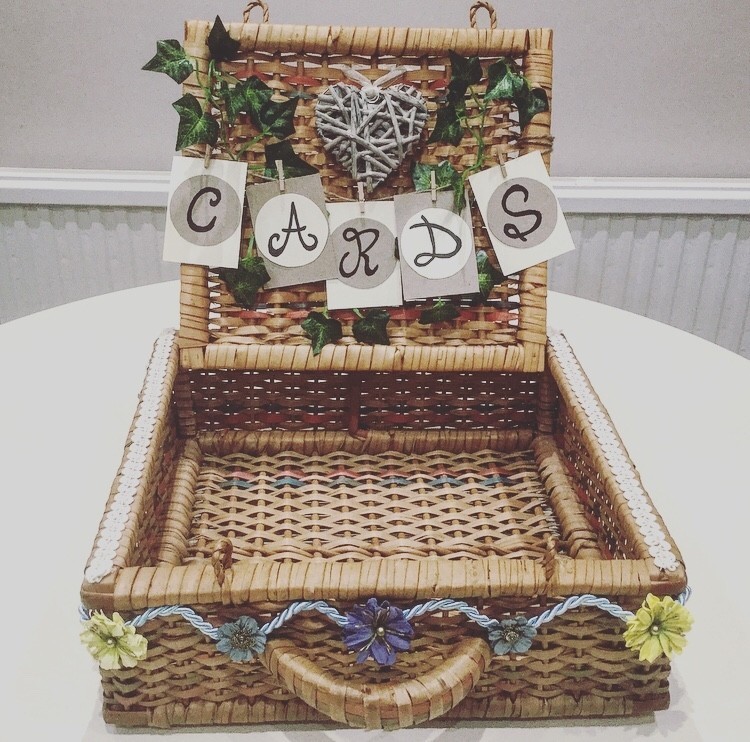
My Mum had an old hamper in the garage that a friend had given her, and we decided to spend some mother-daughter bonding time re-purposing it as a rustic card box.

What you need:

There are no hard and fast rules about what you decorate with – we chose some fake ivy (from Ginger Ray), a little wicker heart (Hobbycraft), some lace ribbon for the sides (Hobbycraft), and some blue cord and paper flowers for card-making (also from Hobbycraft!)

I also made some bunting using cream and brown card, a Sharpie pen for the letters (carefully copied after googling calligraphy styles), and string and mini pegs to hold everything together.

Along with the decorations, Mum surfaced a couple of bits and pieces that proved pretty useful in the assembly process:

1) PVC-coated garden wire – really useful for winding into the wicker basket to hold things like the ivy in place

2) Super-glue – used to stick down the flowers, cord and lace, and also helpful for sticking down the pegs for the bunting – otherwise the letters kept dropping off!

3) Disposable gloves – for when you inevitably stick your fingers together with the super-glue

Aside from this, all you really need to do is stick the various bits on as you want them. It turned out that Mum’s attention to detail when it came to things like straightness was much more fine-tuned than mine, so maybe she’s the one that should be sharing the tips…that’s teamwork for you anyway!

Links:

Fake ivy: https://www.johnlewis.com/ginger-ray-decorative-vines-pack-of-5/p3200589

Paper flowers: https://www.hobbycraft.co.uk/tuscan-grey-paper-flowers-20-pack/634042-1003

Featured

Wood-burning – rustic personalised log slices

Hello, and welcome to my inaugural Craft It Like Katie post!

I got engaged in February 2017, and up until this point, crafting wasn’t really a thing in my life. I used to love making things as a child, but somewhere along the line, I just stopped doing it.

And then, the goddess of creativity, Wedding Pinterest came along! Suddenly, I was spending every moment of my commute (train then tube, usually just enough personal space for mobile browsing) looking at the amazing things that people had tried out – and these gave me even more new ideas myself.

Over the next year, I tried lots of different crafts, from pyrography (that’s wood-burning), to decoupage, to clay – and I also learned to knit on the side (not quite so wedding related, nobody wore a bobble hat). Now, with no more weddings of my own to plan, I’d love to share my ideas with you all.

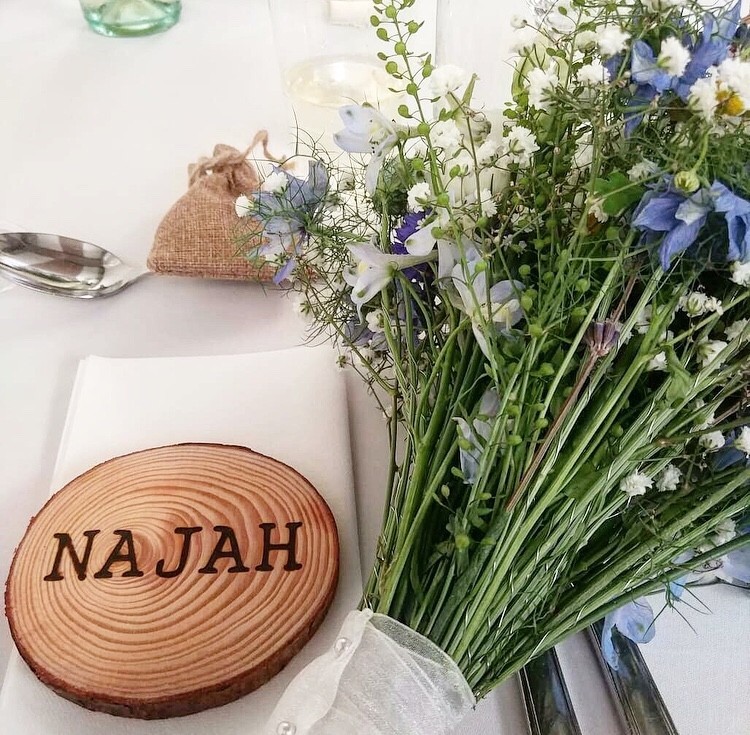
And so, onto these rustic wood-burned log slices – this was quite possibly my favourite craft exercise of the entire wedding, geared up to the barn setting that we had. It takes a little while, but once you’ve got the hang of it, it’s pretty easy to do.

What you need:

1) Log slices (one for each guest, with a few spares for mess-ups) – I got mine from eBay, and went for ones that measured approx. 10-12cm diameter

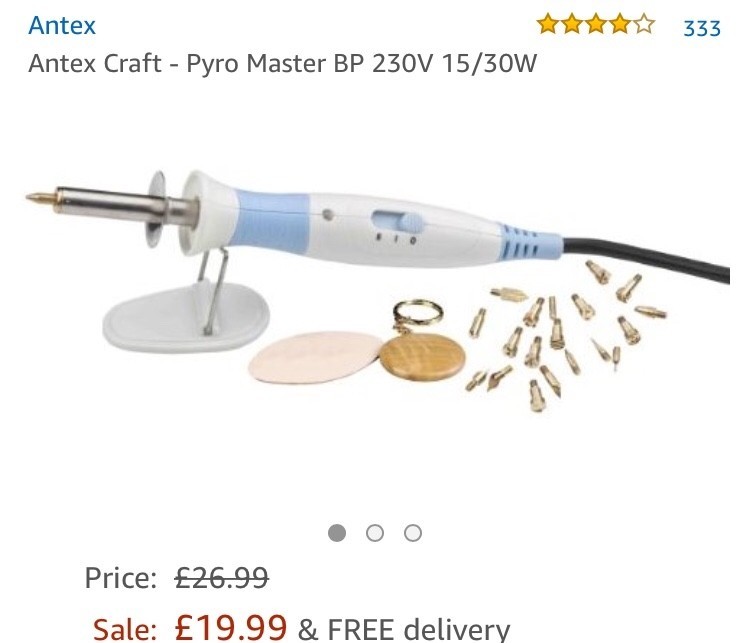
2) A pyrography (wood-burning) pen – after careful, but pretty uninformed research, I chose the Antex Craft Pyro Master BP 230V, which delivered on its promise to be easy to use for beginners

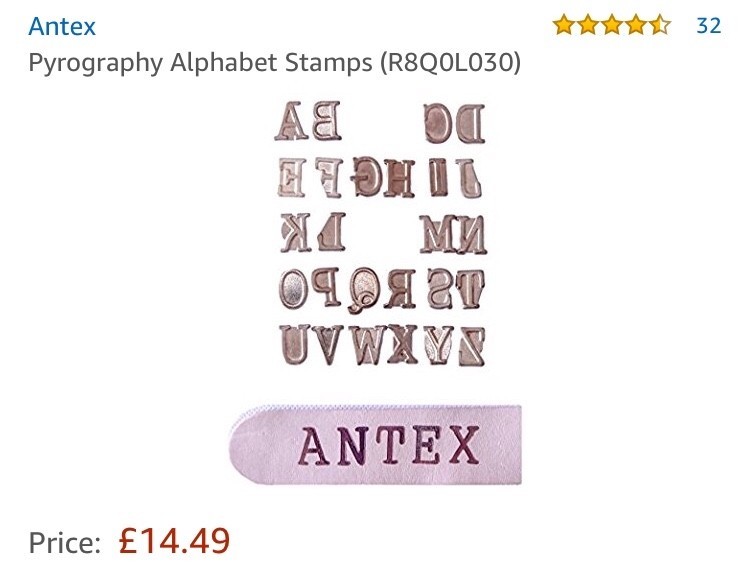
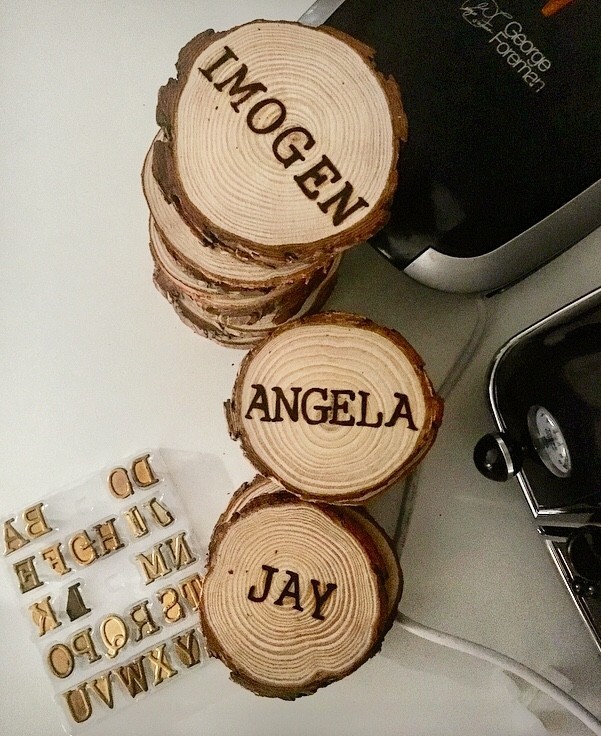
3) Pyrography alphabet stencils – now, if you’re feeling particularly creative and steady of hand, you could write your names free-hand, using one of a number of pen-tips. I was not, and opted for some alphabet stamps from Antex.

4) Danish oil (or another similar wood sealant), to waterproof your log-slices once they’re done. This means that they can be used as coasters, without risk of water stains

5) Foam brushes to apply your Danish oil

How you do it:

1) Cover your surfaces – do not miss this step! As my poor kitchen counters found out, a hot stencil dropped on an uncovered surface DOES leave a mark!

2) Heat up the pen – perhaps a very obvious step to call out, but make sure your stencils get really hot on the pen, otherwise they won’t mark the wood properly

3) Start burning wood – once your stencil has heated up on the pen, you’re ready to start burning! Just press the stencil down where you want it to go on the log slice, and hold for a few seconds. You can then keep lifting up and checking it until you get the darkness that you want. It’s worth mentioning that you can only have only stencil on the go at a time, so I wrote out all the guest names, and then did all of one letter first, then the next etc. This does mean a lot of logs on the go at once, but is definitely the quickest way!

4) Seal your log slices – once your beautiful, name-burned log slices have cooled down, it’s a good idea to seal the wood so that it’s water-proofed (otherwise it will become damaged as a coaster pretty quickly). This bit is really easy – just brush the wood with some Danish oil (or other sealant) using your foam brushes, allow to dry, and then repeat a couple of times

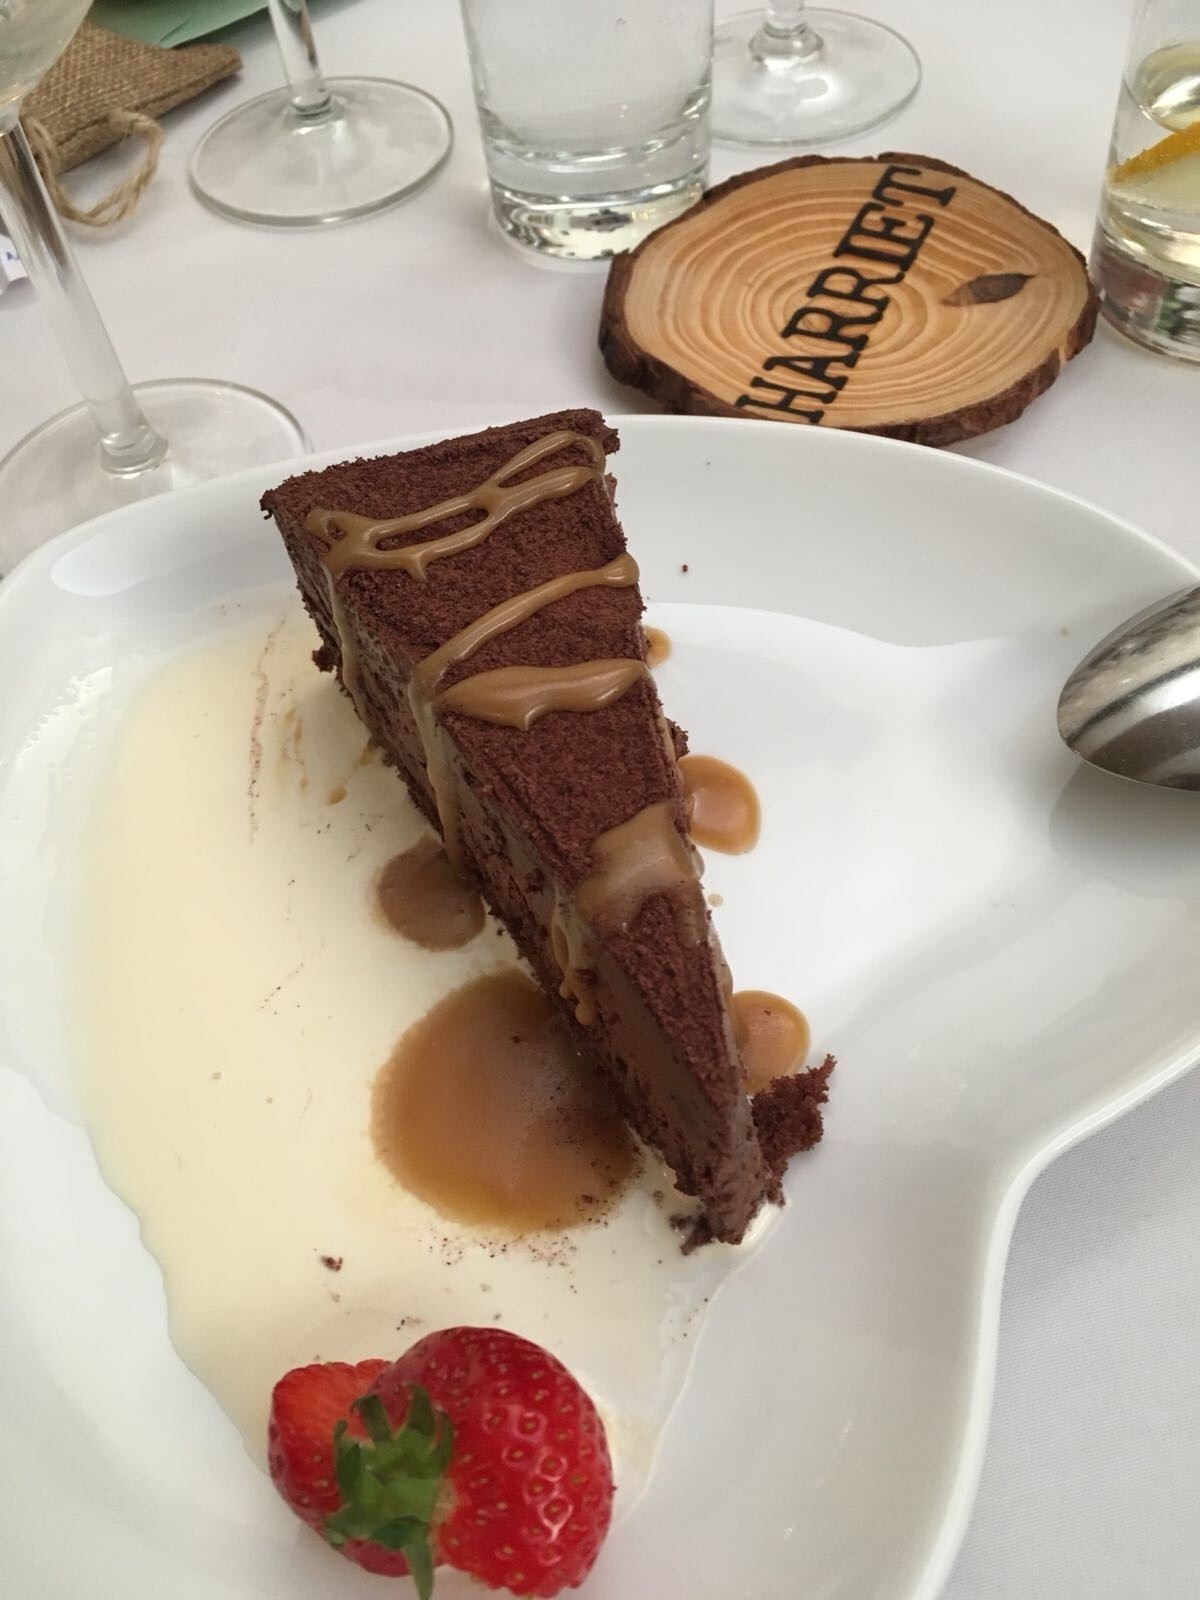
And voila, there you have it – beautiful, handmade coasters/favours/name-places for all of your guests!

Current Status: Published