Handmade Christmas Crackers

I don’t know about you, but when it comes to Christmas I tend to go slightly into ideas-overdrive. The last couple of years I’ve had my friends over to make Christmas wreaths, and this time I became slightly obsessed with the thought that there just MUST be some kind of secondary craft. After much exploration (this is why I never have any data left on my phone), I arrived at Christmas crackers.

Luckily my friends are very enthusiastic and supportive people, so they were up for trying this out with me. We have a girls’ Christmas day every year, and we decided that gifting each other with personalised crackers would be a great ceremony to add into the mix. I feel very lucky to have found such kindred spirits! 😂

What you need:

– Empty loo-roll cardboard tubes (great for recycling too!)

– A cracker template

– Good quality Christmas wrapping paper (Anthropologie and Paperchase have some great options)

– A craft knife (something like this)

– A cutting mat, or a chopping board that you don’t feel overly precious about (it’ll largely be fine, but you’ll be scoring it with your craft knife)

– Scissors

– Clear sellotape

Cracker snaps

– Paper hats – buy online or make your own!

– Ribbons to tie your crackers with (reasonably thin ribbon works well)

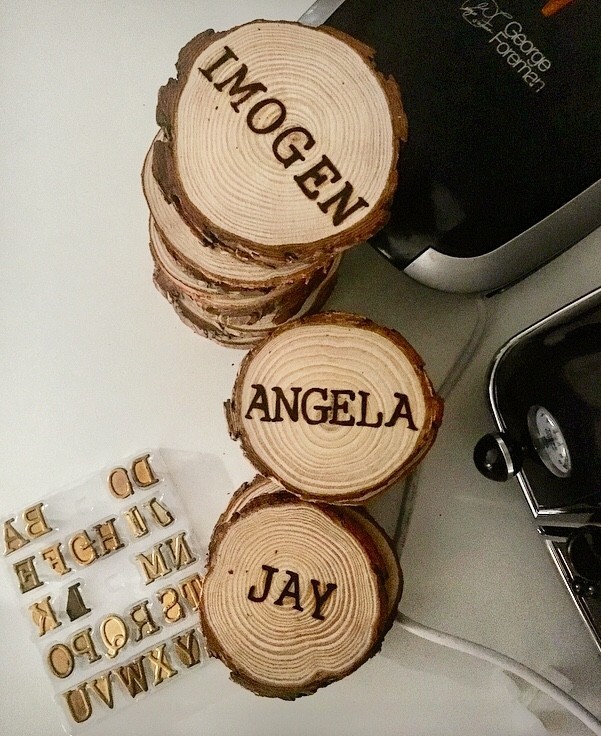
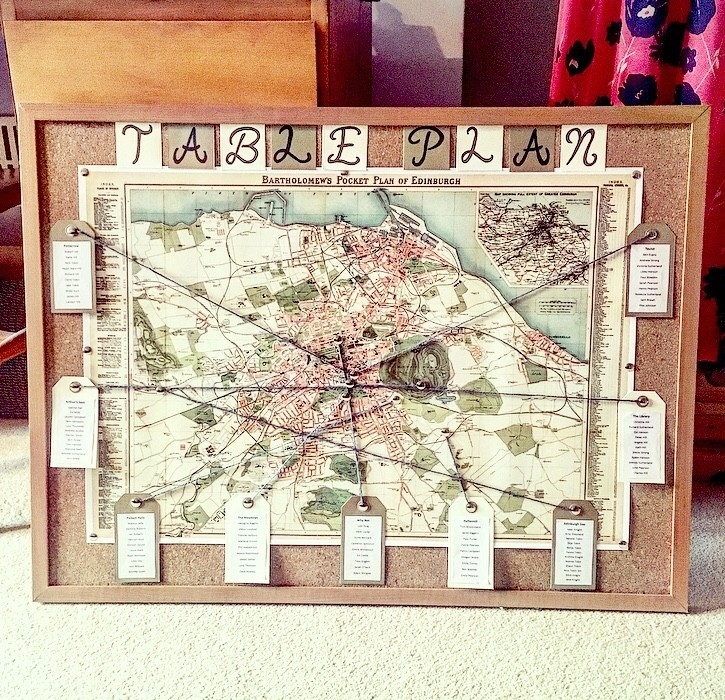
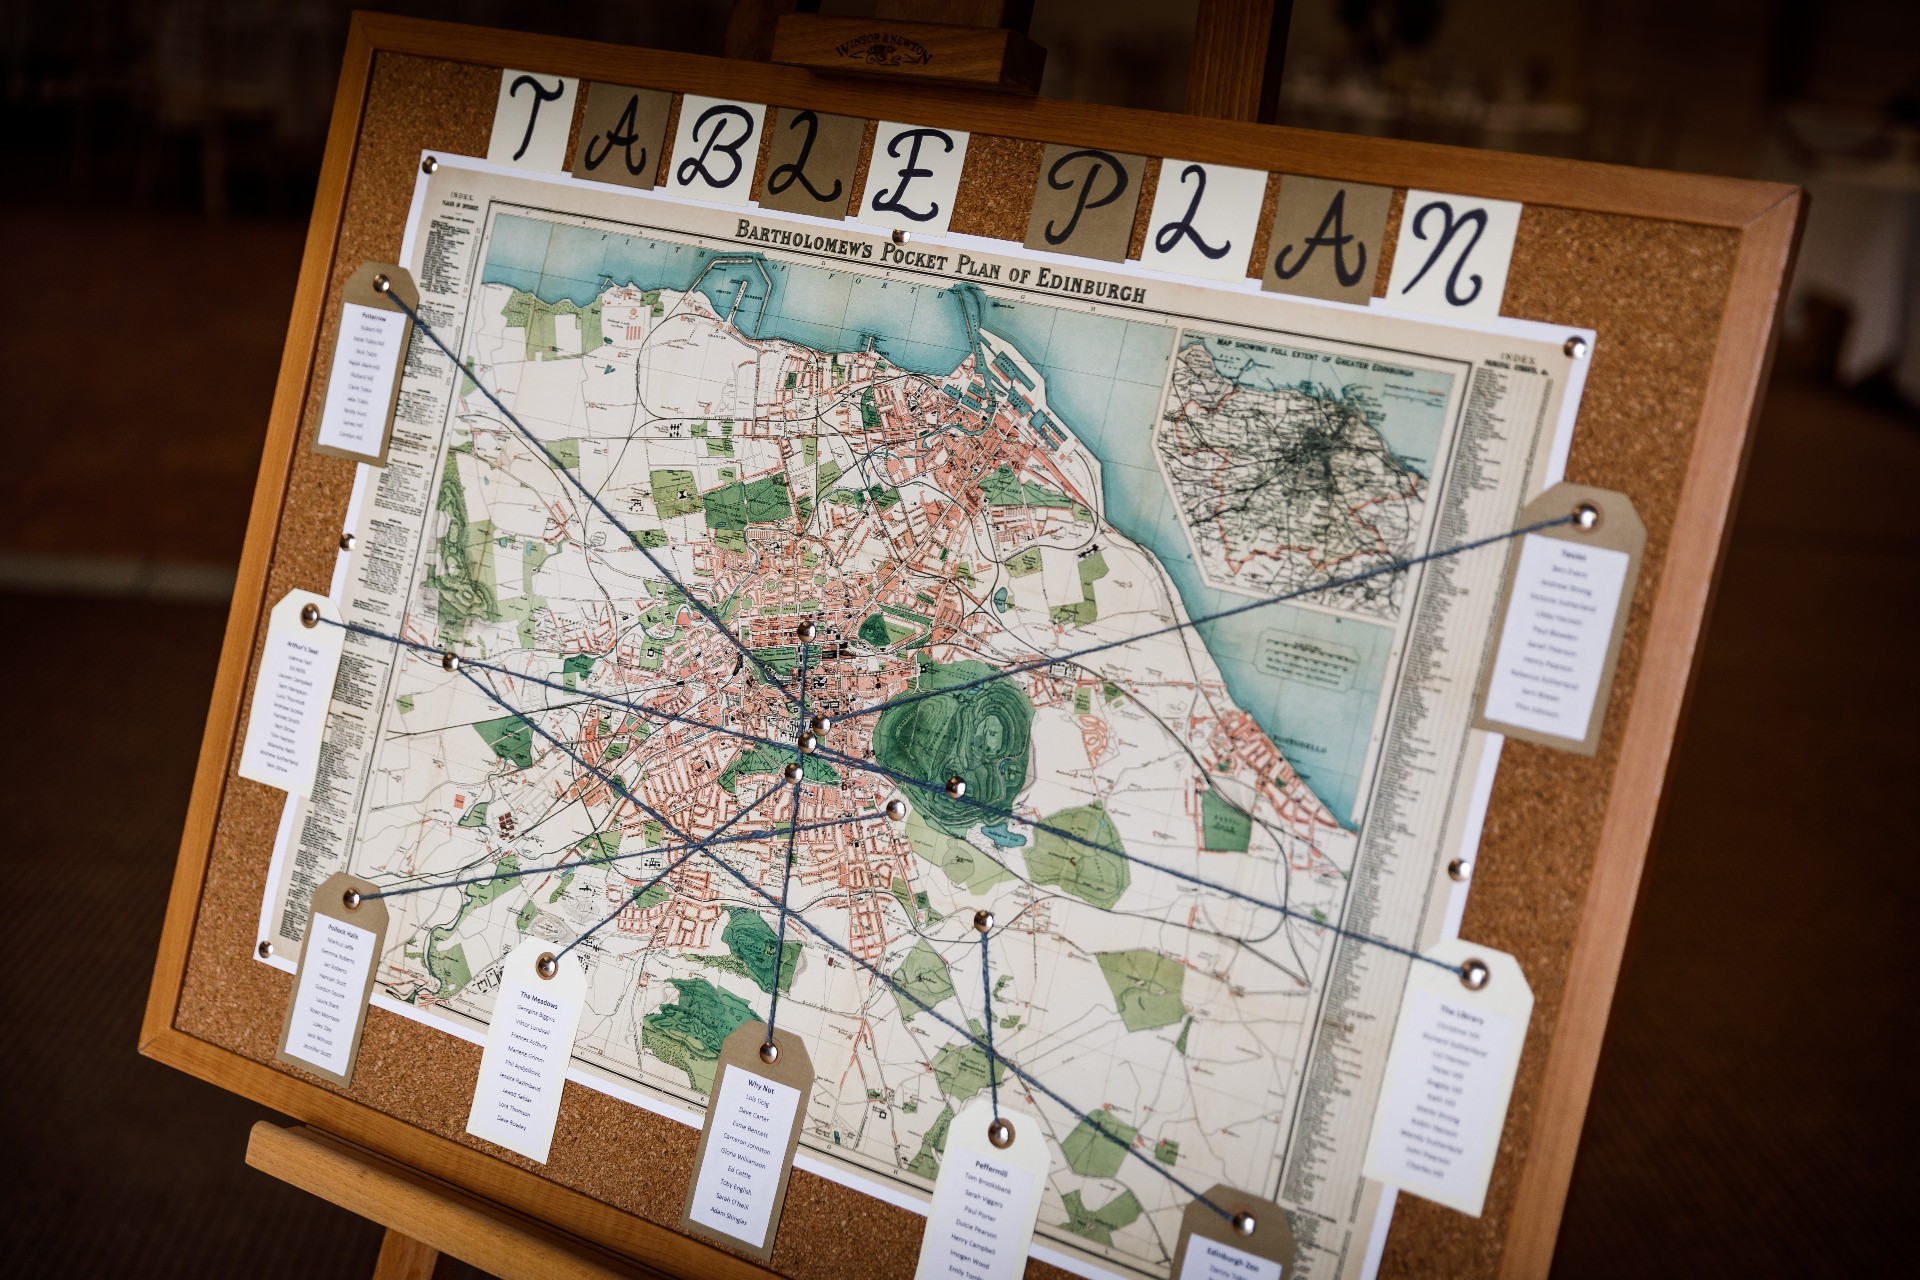
– Decorations for the outside of your crackers – I used snowflake embellishments from Paperchase and my favourite Hobbycraft scrabble tiles

– Jokes – again, you can buy these online or easily write your own ones. We went excessive and added a joke, an inspirational message (delivered with varying levels of seriousness) and a charade! Also a job you can outsource to husbands/partners/other family members if you’re not letting them use your craft knife

– A little gift to put inside the cracker – I found some little Christmas pegs in Paperchase for my friends, and for the family ones I bought little rubber drink markers that you put around your wine glass

How it’s done:

1) Cut your wrapping paper to the same length and width of your cracker template. Then lay the template on top of the paper, on top of your cutting board, and carve out the diamond shapes using your craft knife – voila, that’s by far the hardest bit done!

2) Place your hat, joke and gift inside the cracker, and roll the paper round the cardboard tube, taping it to hold. You can also tape the top ends of the cracker (the bits you pull) to make them neater

3) Cut two equal lengths of ribbon (I did about 15cm each) and tie either side of your cardboard roll, where your diamond cuts are. The cuts should make it scrunch nicely. You’ll want to make the tie tight enough that your gifts don’t fall out

4) And now, it’s just a matter of decorating your crackers – go minimalist, or go wild! We personalised ours with sticky scrabble tile letters, and put sparkly snowflakes either side

And that’s how you make a Christmas cracker! I’ve made two sets of these, and did one lot by myself in front of Netflix, and the other with my friends as a group craft activity – can confirm that both were successful. They also make lovely tree decorations before Christmas Day, so you’ve got a double whammy!

As always, I’d love to see your pictures if you try out any of my crafts, and please get in touch if you have any questions or suggestions. You can also find me on Instagram as @Craftitlikekatie. Happy crafting!

Featured

The Andersen Beanie – baby and toddler bobble hats, knit flat

Bobble hats – I just can’t get enough of them!

When it come to favourite things to knit in a spare few hours, super chunky bobble hats are my go-to. So when our neighbours had a new baby, it didn’t take me long to decide what I was going to make for them!

After messing around with a few different colours, I took a trip to Fielders in Wimbledon (amazing little art and crafts shop, definitely recommend!) and discovered Rico Creative Bonbon Super Chunky Yarn. There was an abundance of colours to choose from, and so I decided to make two hats (our neighbours have a little girl too), and opted for turquoise, fuschia and natural.

I’m slightly obsessed with this wool – only the thought of my husband’s reaction stopped me from buying every colour that they had in stock (our house is pretty much bursting at the seams already!)

Anyway, onto the pattern!

Size: I’ve shown the number of stitches needed for baby-size, with toddler in brackets

Needles: 9mm straight knitting needles, plus yarn needle for sewing up at the end

Yarn: 1 ball of super chunky wool (I went for Rico Creative Bonbon) for first colour, and different shade for the second colour. You don’t need much from each ball – mine were 100m each, and I have loads left.

Directions:

Cast on 34 (40) stitches, starting with your first colour

Row 1: Knit all stitches

Row 2-8: *k2, p1* to the end of the row (7 rows of ribbing)

Then switch to your second colour…

Row 9: Knit all stitches

Row 10: Purl all stitches

Repeat rows 9 and 10 for 5 (6) more times, giving you a total of 12 (14) rounds of stockinette.

Then decrease for the crown of the hat as follows:

K1, and then *K2tog* until one stitch before the end of the row, k1 (18, 21 stitches)

Purl all stitches

K1, then *K2tog* until one (two) stitch(es) before the end of the row, k1(2) – (10, 11 stitches)

Purl all stitches

K1, then *K2tog* until one (two) stitch(es) before the end of the row (6 stitches)

Cut your thread leaving approximately 40cm tail, and pull it through the remaining stitches.

Take your yarn needle, and sew the sides together using mattress stitch. I swapped yarn quite frequently here to make sure that the shades matched.

Making your pom-pom:

Get your chosen yarn, and wind it around three finger, leaving a 15cm length at the end for sewing it onto the hat. I went for about 200 winds, but you can vary it depending on how big you want the pom-pom to be. Then take a separate piece of thread and tie it through the middle of the wool – your pom-pom is now secure, so you can slide it off your fingers.

Now for the messy bit – I’d advise doing this over a bin! Get your scissors through the loops, and cut round the pom-pom. Once you’ve done this, keep trimming round the strands until your pom-pom is nice and even – kind of like giving it a hair cut! Make sure that you don’t cut off the long end that you need for sewing.

Once you’re happy with your pom-pom, sew it onto the top of your hat, using the long end that hopefully survived the hair cut. If it didn’t, you can just sew a new length of yarn through the middle of the pom-pom.

And there you have it – a beautiful, snuggly, pint-size bobble hat!

Happy knitting! For more free knitting patterns and craft inspiration, you can find me on Instagram as @craftitlikekatie – tag me in your makes!

Featured

Wood-burning – rustic personalised log slices

Hello, and welcome to my inaugural Craft It Like Katie post!

I got engaged in February 2017, and up until this point, crafting wasn’t really a thing in my life. I used to love making things as a child, but somewhere along the line, I just stopped doing it.

And then, the goddess of creativity, Wedding Pinterest came along! Suddenly, I was spending every moment of my commute (train then tube, usually just enough personal space for mobile browsing) looking at the amazing things that people had tried out – and these gave me even more new ideas myself.

Over the next year, I tried lots of different crafts, from pyrography (that’s wood-burning), to decoupage, to clay – and I also learned to knit on the side (not quite so wedding related, nobody wore a bobble hat). Now, with no more weddings of my own to plan, I’d love to share my ideas with you all.

And so, onto these rustic wood-burned log slices – this was quite possibly my favourite craft exercise of the entire wedding, geared up to the barn setting that we had. It takes a little while, but once you’ve got the hang of it, it’s pretty easy to do.

What you need:

1) Log slices (one for each guest, with a few spares for mess-ups) – I got mine from eBay, and went for ones that measured approx. 10-12cm diameter

2) A pyrography (wood-burning) pen – after careful, but pretty uninformed research, I chose the Antex Craft Pyro Master BP 230V, which delivered on its promise to be easy to use for beginners

3) Pyrography alphabet stencils – now, if you’re feeling particularly creative and steady of hand, you could write your names free-hand, using one of a number of pen-tips. I was not, and opted for some alphabet stamps from Antex.

4) Danish oil (or another similar wood sealant), to waterproof your log-slices once they’re done. This means that they can be used as coasters, without risk of water stains

5) Foam brushes to apply your Danish oil

How you do it:

1) Cover your surfaces – do not miss this step! As my poor kitchen counters found out, a hot stencil dropped on an uncovered surface DOES leave a mark!

2) Heat up the pen – perhaps a very obvious step to call out, but make sure your stencils get really hot on the pen, otherwise they won’t mark the wood properly

3) Start burning wood – once your stencil has heated up on the pen, you’re ready to start burning! Just press the stencil down where you want it to go on the log slice, and hold for a few seconds. You can then keep lifting up and checking it until you get the darkness that you want. It’s worth mentioning that you can only have only stencil on the go at a time, so I wrote out all the guest names, and then did all of one letter first, then the next etc. This does mean a lot of logs on the go at once, but is definitely the quickest way!

4) Seal your log slices – once your beautiful, name-burned log slices have cooled down, it’s a good idea to seal the wood so that it’s water-proofed (otherwise it will become damaged as a coaster pretty quickly). This bit is really easy – just brush the wood with some Danish oil (or other sealant) using your foam brushes, allow to dry, and then repeat a couple of times

And voila, there you have it – beautiful, handmade coasters/favours/name-places for all of your guests!

Current Status: Published

Table Plan Map of Edinburgh

I’d been mulling this one over since my first forays into wedding Pinterest, but it took me a while to actually get round to doing it!

We’d decided to name our tables after favourite places in Edinburgh, as that’s where we both met at university (heroed by the student union club as our top table, where we quite literally first met!) I’d seen some great ‘map of the world’ table plans, but nothing for Edinburgh…so another opportunity for crafting was on the horizon!

What you need:

1) A cork board – mine was just a cheap one from Argos

2) A map of your choice – I found my vintage map of Edinburgh from AncientShades on Etsy

3) Gift tags – I got these at HobbyCraft

4) Twine/string – mine was also from HobbyCraft, and I went for different shades of blue to match our colour scheme

5) Pins

6) Coloured card (for the letters at the top)

7) A Sharpie or permanent marker

8) Superglue

9) Printed table information (just normal paper is fine)

What to do:

This is another one where it’s pretty much just as it looks in the picture – but as a quick summary, here’s how I got from start to finish…

1) I attached the map to the cork board. Initially with pins, which didn’t really work, and then with superglue (the pins remained for aesthetic effect, as they’d already made their holes by this time!)

2) I then stuck my table information to the gift tags, and glued them to the right places around the edges of the map

3) I stuck pins in the gift tags and on the locations that the table related to, and connected the two with coloured twine (my pins were big enough to hide where I’d tied it)

4) Finally, I cut out squares of cards in alternating colours to write ‘TABLE PLAN’, and exercised my best attempts at Sharpie calligraphy. These then also got glued on at the top.

And there you have it – one destination table plan personalised to you!